Body Care
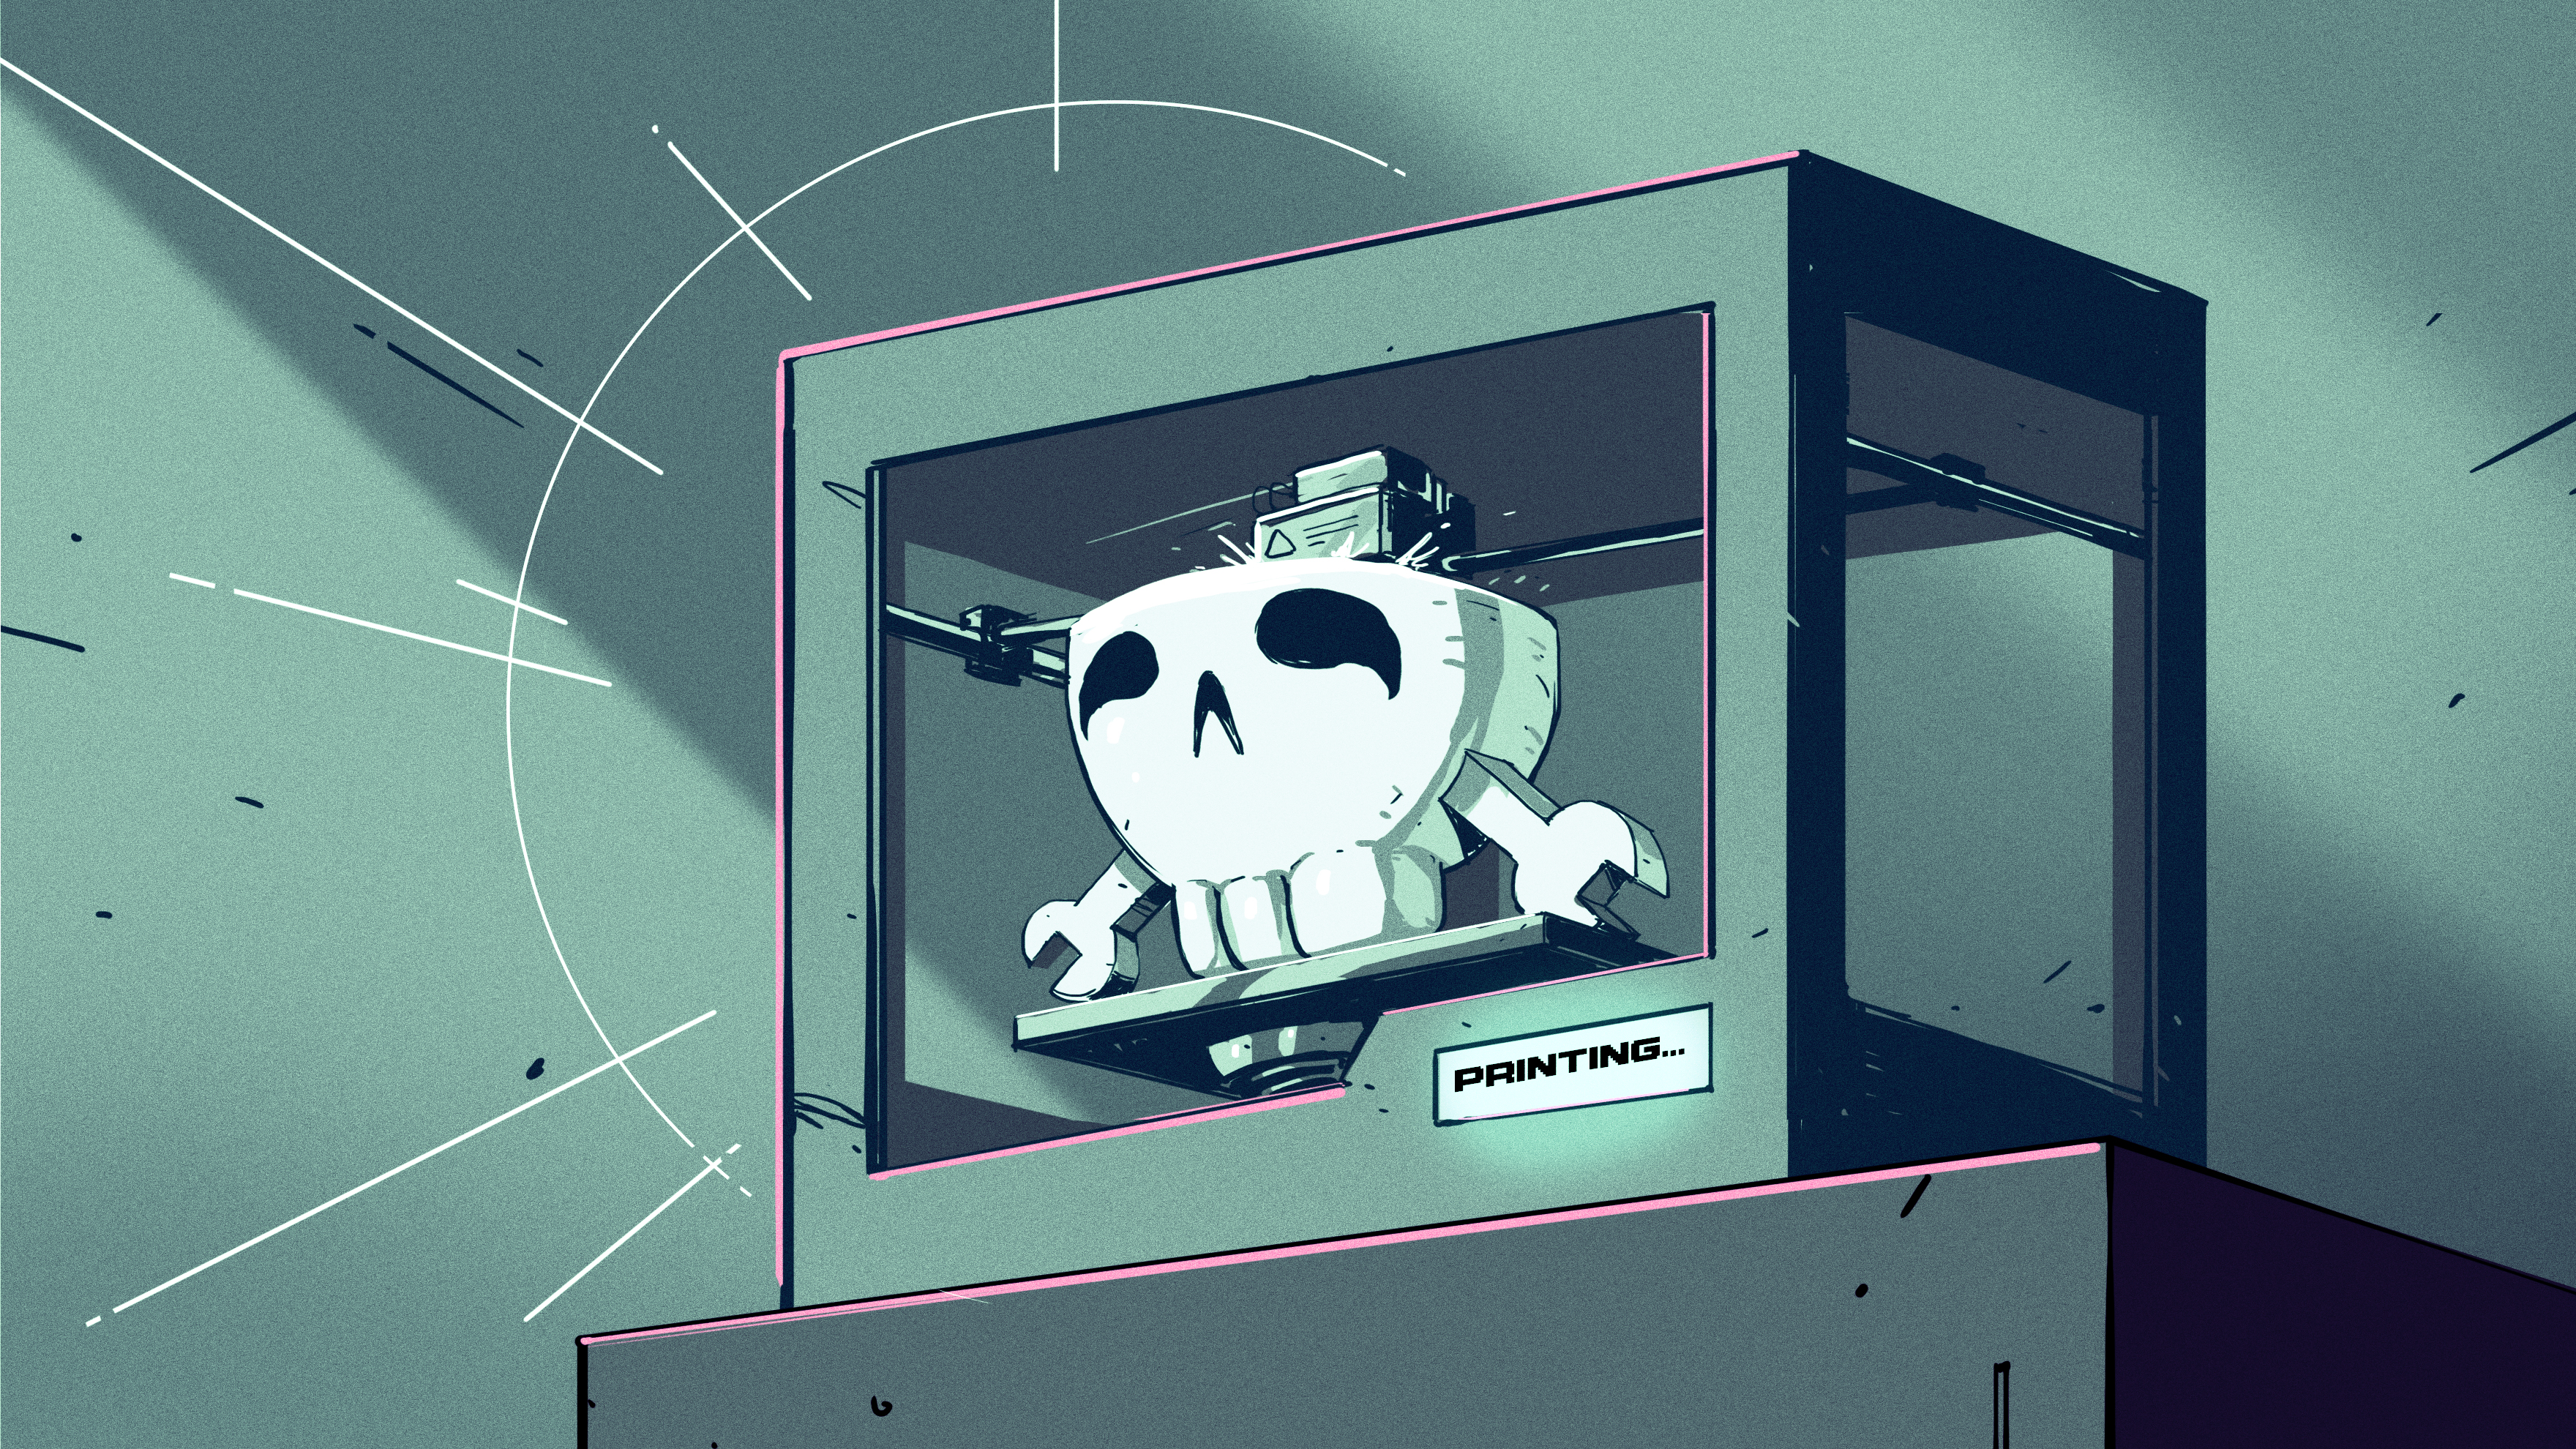
3D Printering: Wash Parts Better And Make Solvent Last Longer
Jun
Note: This article synthesizes practical resin-printing guidance from reputable 3D printing manufacturers, maker publications, resin brands, post-processing guides, and chemical safety references. Source links are intentionally omitted for clean publication formatting.
Resin 3D printing is magical right up until the moment you have to clean the print. One minute you are admiring a tiny dragon, dental model, cosplay buckle, engineering prototype, or suspiciously ambitious chess piece. The next minute you are wearing gloves, holding a dripping object, and wondering why your workspace suddenly feels like a science fair project with better lighting and worse fumes.
That is the not-so-glamorous truth behind SLA, MSLA, LCD, and DLP resin printing: printing the part is only half the job. The rest is post-processing. More specifically, it is washing away uncured resin without ruining the model, wasting solvent, or turning your wash station into a haunted jar of gray soup.
The good news is that better washing does not require wizardry. It requires a smarter workflow. The best resin print cleaning process is usually not “throw it in alcohol and hope.” It is a controlled system: drain the print, use a dirty first wash, move to a cleaner second wash, agitate properly, dry completely, cure only when the surface is clean, and manage solvent like it costs moneybecause it does.
This guide explains how to wash resin 3D printed parts better, make isopropyl alcohol or other resin cleaning solvent last longer, and avoid the common mistakes that leave prints sticky, cloudy, cracked, or smelling like regret in a bottle.
Why Resin Prints Need Washing in the First Place
Fresh resin prints do not come off the build plate ready for display. They come out coated with uncured liquid resin. That resin sits in corners, clings to supports, hides inside holes, and makes the model feel slippery or tacky. If it stays there and gets cured, it can blur details, create shiny patches, fill small features, and leave the part looking like it lost a fight with syrup.
Washing removes this uncured resin before the final UV cure. A good wash gives you sharper details, cleaner surfaces, better paint adhesion, and fewer gummy surprises. A bad wash can make a print look dull, sticky, chalky, or strangely greasy. In other words, your printer may have produced a masterpiece, but your wash routine can still turn it into a desk goblin.
Most standard resins are cleaned with high-concentration isopropyl alcohol, ethanol, manufacturer-approved resin washing solution, or specialized resin cleaner. Water-washable resins are different, but even then, the dirty rinse water should be treated as contaminated waste, not as “just water.” Resin chemistry does not become harmless because the bottle has friendly branding.
The Two-Stage Wash: The Small Upgrade That Changes Everything
The biggest improvement most resin users can make is switching from one wash container to two. This is often called a two-stage wash, two-bath wash, dirty-clean rinse, or primary-secondary wash system.
Stage One: The Dirty Wash
The first container does the heavy lifting. It removes the bulk of the uncured resin from the print. This bath will get cloudy quickly, and that is fine. Its job is not to be beautiful. Its job is to take the hit so your cleaner solvent does not have to.
For example, if you print a batch of miniatures, the first bath is where supports, bases, capes, swords, and tiny dramatic eyebrows shed most of their resin. You can gently swirl the part, use a soft brush for stubborn areas, or run a short cycle in a wash station if the machine is designed for that solvent.
Stage Two: The Clean Wash
The second container is the finishing bath. This wash should stay much cleaner because the first bath already removed most of the resin. A short final rinse in cleaner solvent helps remove residue from fine details and gives the print that crisp, non-sticky surface everyone wants.
This system makes solvent last longer because the clean bath is not being forced to dissolve an entire print’s worth of surface resin every time. When the dirty bath becomes too saturated, you replace or process that one first. The clean bath then becomes the new dirty bath, and fresh solvent becomes the new clean bath. Congratulations: you have invented solvent recycling, minus the lab coat and ominous clipboard.
How to Wash Resin Parts Better Step by Step
1. Let the Print Drain Before Washing
Before dropping a print into solvent, give it time to drip over the vat or a protected tray. Tilt the build plate if your printer setup allows it. The more liquid resin that drains back into the vat, the less resin ends up in your wash container.
This is one of the easiest ways to extend solvent life. It costs nothing, takes only a few minutes, and prevents your alcohol from becoming resin soup after three prints. Think of it as letting pasta drain before putting it in sauce. Except the pasta is a dragon head, and the sauce is flammable.
2. Remove Excess Resin Mechanically
For large flat areas or bulky models, you can gently remove surface resin with a disposable towel, silicone spatula, or soft brush while wearing proper gloves. Do not grind, scrape, or attack the print like it owes you money. The goal is to reduce the solvent’s workload, not damage fine details.
For parts with deep recesses, hollow cavities, engraved lettering, or small channels, a soft brush can help dislodge resin trapped in corners. This is especially useful for miniatures, dental-style models, jewelry prototypes, mechanical housings, and anything with decorative texture.
3. Use Short, Active Washing Instead of Long Soaking
One of the biggest mistakes in resin post-processing is assuming that longer soaking equals cleaner prints. Not always. Many resins respond better to short, active washing than to long baths. Excessive soaking can soften details, swell delicate materials, weaken thin parts, or create surface defects.
For many common resins, a few minutes in a first wash followed by a shorter clean rinse is enough. Exact times vary by resin brand, part size, solvent type, and geometry, so the resin manufacturer’s recommendation should always win. A tiny miniature and a chunky engineering bracket do not need the same wash routine. One is a teacup; the other is a soup pot.
4. Agitate, But Do Not Abuse
Agitation helps solvent reach the surface of the part and move dissolved resin away from the model. You can agitate by gently swirling a sealed container, moving a basket up and down, using a magnetic stirrer-style setup, or running a wash-and-cure station.
The key word is “gently.” Resin prints are often fragile before final curing. Thin swords, tiny fingers, lattice structures, dental margins, snap-fit tabs, and delicate supports can break if they bounce around like socks in a dryer.
5. Dry Completely Before UV Curing
After washing, let the print dry fully before curing. Solvent trapped on the surface can cause cloudy white residue, uneven curing, or tacky patches. Hollow models need extra attention because liquid can hide inside drain holes and cavities.
Air drying works, but clean compressed air or a small blower can help push solvent out of details. Avoid heat sources, open flames, sparks, or anything unsafe around flammable solvent vapors. Resin post-processing should not include a surprise fireball. That is not “rapid curing.” That is a bad afternoon.
How to Make Solvent Last Longer
Use the Dirty-to-Clean Rotation Method
The two-container rotation is the foundation of solvent management. Label one container “dirty wash” and the other “clean wash.” When the dirty wash becomes too saturated, set it aside for settling or disposal. Promote the clean wash to dirty duty, then fill a fresh clean container.
This method keeps your final rinse effective and dramatically reduces how often you need to replace all your solvent. It also makes quality more predictable. If every print goes through a filthy one-bucket wash, you are not cleaning parts. You are seasoning them.
Keep Containers Covered
Isopropyl alcohol evaporates quickly. A sealed wash container or wash station lid reduces evaporation, limits odor, and keeps dust out. It also prevents the classic workshop tragedy where someone bumps an open container and suddenly the bench smells like a hospital mop had an argument with a robot.
Use containers compatible with your solvent. Not every plastic is happy living with alcohol or resin cleaner. Look for chemical-resistant containers with tight lids, clear labels, and stable bases.
Let Dirty Solvent Settle
Used solvent often contains suspended resin. If left undisturbed, some of that material can settle to the bottom as sludge. Decanting the clearer liquid from the top into another container can extend usability for a rough first wash, but it should not be treated as brand-new solvent.
Some users expose contaminated solvent to UV light to cure suspended resin before filtering or settling. This can help separate solids, but it should be done cautiously, in appropriate containers, away from ignition sources, and according to local waste rules. Never assume cured sludge is safe for household disposal unless your local regulations allow it.
Filter Carefully
Filtering can remove particles, broken support bits, cured flakes, and settled debris. Paint filters, fine mesh strainers, or dedicated resin filters can help. However, filtering does not magically restore alcohol concentration or remove dissolved resin completely. It improves dirty solvent; it does not resurrect it like a tiny chemical vampire.
Match the Solvent to the Resin
IPA is common because it works well with many standard photopolymer resins. Some workflows use ethanol, tripropylene glycol monomethyl ether, or manufacturer-approved resin washing solutions. Some newer washing fluids are designed to reduce odor, reduce flammability concerns, or last longer before saturation.
The best solvent is not always the cheapest per bottle. It is the one that cleans your resin effectively, fits your safety setup, evaporates at a manageable rate, and does not create surface problems. If you print frequently, the cost per successful wash matters more than the sticker price.
Common Resin Washing Mistakes
Mistake 1: Using One Container Forever
If your wash container looks like mushroom soup, it is not doing fine-detail work anymore. Dirty solvent can redeposit resin on the part, especially during the final rinse. That is how prints come out sticky even after “washing.”
Mistake 2: Washing Too Long
Long soaking can damage some prints, especially flexible, tough, castable, or delicate resins. Follow resin-specific instructions. More time is not automatically more clean. Sometimes it is just more opportunity for your part to become sad.
Mistake 3: Curing Before the Print Is Dry
Wet prints often cure poorly. White haze, cloudy patches, and odd surface texture can come from curing before solvent has fully evaporated. Dry first, cure second. This order is not negotiable unless your goal is “frosted disappointment.”
Mistake 4: Ignoring Hollow Models
Hollow prints can trap uncured resin and solvent inside. Use proper drain holes, rinse internal cavities, and let them drain thoroughly. Otherwise, uncured resin can leak later, split the model, or create unpleasant odors.
Mistake 5: Treating Water-Washable Resin Like Harmless Soap
Water-washable resin is convenient, but contaminated water still contains uncured resin. Do not pour resin-contaminated water into a sink, storm drain, garden, or toilet. Cure and dispose of waste according to local rules.
Wash Stations vs. DIY Washing
A commercial wash-and-cure station is convenient, especially for people printing regularly. It provides consistent agitation, a basket, a covered container, and a cleaner workflow. It reduces mess and makes post-processing feel less like juggling slippery alien candy.
However, a wash station is not a magic box. If you fill it with saturated solvent, overload it with too many parts, or skip the final clean rinse, results will suffer. Many experienced resin users still use a dirty pre-rinse before placing parts in the machine. This keeps the wash station cleaner for longer and improves consistency.
DIY systems can also work well. A pair of sealable containers, a soft brush, a basket, and a timer can produce excellent results. Some makers build magnetic stirrer-style washers or use manual dunk tanks. The key is not the price of the equipment. The key is the workflow.
Safety: Boring Until It Saves Your Eyebrows
Resin washing involves uncured resin and chemical solvents, so basic safety matters. Wear nitrile gloves, use eye protection, work in a well-ventilated area, and keep solvents away from flames, sparks, heaters, cigarettes, and hot tools. Store solvent in labeled, sealed containers that are compatible with the chemical inside.
Do not use flammable solvents in ultrasonic cleaners unless the equipment and setup are specifically rated for that use. Many hobby ultrasonic cleaners are not designed for flammable liquid vapor. That shortcut can create a serious fire hazard.
Also, do not rinse uncured resin into household plumbing. This applies to IPA waste, resin cleaner waste, paper towels, gloves, supports, failed prints, and water from water-washable resin. Cure contaminated solids when appropriate, contain liquids, and follow local hazardous waste guidance.
Specific Example: A Cleaner Workflow for Miniatures
Imagine you print six tabletop miniatures with detailed armor, capes, bases, and tiny weapons. Here is a practical workflow:
- Let the build plate drain for several minutes over the vat.
- Remove the prints and gently blot heavy resin from the bases.
- Place the models in the dirty wash for a short active rinse.
- Use a soft brush around capes, armor grooves, and base texture.
- Move the prints into the clean wash for a final rinse.
- Let them dry completely, checking under bases and between legs.
- Remove supports at the recommended stage for your resin and model.
- Post-cure according to resin and printer recommendations.
This routine keeps details sharp and prevents the clean wash from becoming filthy too quickly. It also reduces the chance that your miniature warrior comes out with a sticky sword, which sounds funny until you try painting it.
Specific Example: A Cleaner Workflow for Engineering Parts
Engineering prints often have holes, slots, snap fits, threads, or internal channels. These features trap resin. A quick dunk may not be enough.
For functional parts, use a dirty pre-wash to remove surface resin, then flush holes and cavities with clean solvent using safe, controlled methods. Rotate the part during washing so trapped liquid can escape. After the clean rinse, dry the part thoroughly before curing. For tight holes or threaded features, inspect carefully under bright light. Glossy wet-looking areas often mean resin remains.
Dimensional accuracy matters more for functional prints than display models. Over-washing can affect edges or fit, while under-washing can leave cured residue in holes. The best process is short, active, inspected, and repeated only where needed.
When Is Solvent Too Dirty?
Solvent is too dirty when prints leave the wash feeling slick, sticky, or cloudy; when fine details collect residue; when the liquid stays heavily opaque after settling; or when a clean final rinse no longer produces clean surfaces. Some professional systems use measuring tools to estimate resin concentration, but hobby users often rely on results.
A simple rule: if your final rinse is making prints worse instead of better, it is no longer a final rinse. It is a resin-flavored bathrobe.
Extra Experience: Lessons Learned from Real Resin Washing
The first lesson is that resin washing rewards patience more than brute force. Beginners often try to solve sticky prints by washing longer, curing longer, or buying stronger lights. But sticky prints usually begin earlier in the process. If the uncured resin was not removed properly, UV curing can lock that mess onto the surface. It is like baking dirt into a cookie. Technically, heat was applied. Emotionally, nobody wins.
A practical habit is to treat every print as having “high-resin zones.” These are the areas most likely to hide residue: under supports, inside cupped surfaces, around embossed text, within chainmail textures, in drain holes, and along the underside of bases. When cleaning, do not just dunk the model and assume success. Rotate it under good light. If a surface looks glossy while the rest looks matte, that spot may still have resin or solvent.
Another helpful experience is to keep your wash containers physically small when possible. Large tanks are convenient for big parts, but small containers use less solvent and are easier to rotate. For miniatures or jewelry-sized prints, a compact dirty jar and a compact clean jar can be more efficient than filling a giant tub. Save the large wash station for large batches or big models.
Batch management also matters. Washing one huge part and ten tiny parts together can create uneven results. Big models shed more resin and contaminate the bath quickly. Tiny models can get knocked around or trapped in baskets. Group prints by size and fragility when possible. Your delicate wizard staff does not want to share a high-speed wash cycle with a brick-shaped prototype enclosure.
Support strategy affects washing too. Dense supports can trap resin and block solvent flow. If a model has a forest of supports under a detailed surface, that area may need brushing or a second inspection. Some users remove supports after a first wash but before the final clean rinse, depending on the resin and model. This can expose hidden areas and improve final cleaning. However, fragile parts may be easier to handle with supports still attached, so there is no universal rule.
For hollow prints, washing is not finished until the inside is clean. A hollow model with uncured resin trapped inside may smell, leak, crack, or fail later. Drain holes should be large enough to allow resin and solvent to move freely. After washing, rotate the part in several directions and let it drain longer than you think. Hollow prints are sneaky. They will pretend to be dry, then drip on your table like they have comic timing.
Solvent tracking is another underrated habit. Label containers with dates and purpose: “Dirty IPA,” “Clean IPA,” “Water-wash waste,” or “Settling used solvent.” This prevents accidental mix-ups and helps you notice how long a batch of solvent actually lasts. If one resin dirties alcohol twice as fast as another, that is useful information. If one cleaning method leaves fewer failed surfaces, that is worth repeating.
Finally, the best resin washing setup is the one you can repeat safely. A complicated workflow that you hate will eventually be skipped. A simple two-stage system with good ventilation, gloves, labeled containers, a timer, and a drying area will beat a fancy but annoying setup every week. The goal is clean parts, longer-lasting solvent, fewer failed finishes, and a workspace that does not feel like a chemical swamp with Wi-Fi.
Conclusion
Washing resin 3D prints better is not about using gallons of solvent or soaking parts until everyone in the room forgets what fresh air smells like. It is about process. Drain the print, remove excess resin, use a dirty first wash, finish with a clean second wash, agitate gently, dry fully, and cure only after the surface is truly clean.
To make solvent last longer, protect the clean bath, keep containers sealed, rotate dirty and clean solvent, let used solvent settle, filter debris when useful, and replace wash liquids when they stop cleaning well. A careful workflow saves money, improves print quality, and keeps your post-processing bench from becoming the place where good models go to become sticky legends.
Resin printing will probably never be as tidy as clicking “print” and walking away. But with a smarter washing routine, it can be cleaner, safer, cheaper, and far less annoying. Your prints will look sharper, your solvent will work harder, and your future self will thank youprobably while wearing nitrile gloves.
