
Beauty Unlocked
How to Fold a Napkin Into a Swan
Jun
There are two kinds of dinner tables: the ones that say, “We are eating because humans require food,” and the ones that whisper, “Something delightful is about to happen.” A napkin folded into a swan belongs proudly to the second category. It is elegant, a little dramatic, surprisingly affordable, and just quirky enough to make guests pause before asking, “Wait, did you make that?”
Learning how to fold a napkin into a swan is easier than it looks. The finished shape has the graceful neck, pointed beak, lifted body, and calm little “I own this lake” energy of a swan. It works beautifully for weddings, anniversaries, holiday dinners, bridal showers, romantic date nights, hotel-style place settings, and any meal where plain rectangles simply are not pulling their decorative weight.
The best part? You do not need to be an origami champion, a professional event planner, or someone who owns seventeen types of forks. With one square napkin, a flat surface, and a few careful folds, you can create a charming centerpiece for each plate. This guide walks you through the materials, step-by-step folding method, styling ideas, troubleshooting tips, and real-world hosting lessons that make the napkin swan both beautiful and practical.
Why Fold a Napkin Into a Swan?
A swan napkin fold gives your table instant personality. It is more sculptural than a basic rectangle, softer than a fan fold, and more memorable than tossing a napkin under a fork and calling it a day. The swan shape brings height to the place setting, which helps a tablescape feel layered and intentional without requiring expensive decor.
For formal dinners, a napkin swan adds polish. For casual gatherings, it adds humor and charm. For a wedding reception, it creates a photo-friendly detail that feels romantic without being overly fussy. For a family dinner, it may cause one child to name their napkin “Gerald,” which is not traditional etiquette but certainly counts as engagement.
The swan also fits many themes. White napkins create a classic look. Soft gray feels modern. Blush, ivory, or champagne napkins suit weddings. Black or navy napkins create a moody, dramatic tablescape. Even paper napkins can work for practice, although cloth napkins usually hold a more elegant shape.
What You Need Before You Start
Choose the Right Napkin
Start with a square napkin. A true square matters because uneven sides make the swan lean, twist, or look like it has had a difficult afternoon. For dinner tables, an 18-by-18-inch or 20-by-20-inch cloth napkin is ideal. A 16-inch napkin can also work, especially if the fabric is crisp. Smaller cocktail napkins may fold into cute miniature swans, but they are less stable.
Cotton and linen napkins are excellent choices because they crease well and look refined. A cotton-poly blend can work too, especially if it has enough body. Avoid very thick napkins with bulky hems, because the neck may become stiff in all the wrong places. Also avoid slippery satin unless you enjoy chasing fabric across the table like a magician with stage fright.
Prepare the Napkin
A clean, smooth napkin makes the entire fold easier. Iron the napkin before folding if possible. For a crisp restaurant-style look, use a light touch of spray starch, then let the napkin dry completely before placing it at the table. Starch is not mandatory, but it helps the swan stand upright and keeps the neck from drooping.
If you are using paper napkins, choose thick, high-quality dinner napkins. Thin paper napkins can tear when you sharpen the folds. Paper creates very crisp lines, but cloth looks more elegant and reusable. For a special event, practice with paper first, then fold the final version with cloth.
How to Fold a Napkin Into a Swan: Step-by-Step
This method is based on a classic origami-style swan fold adapted for cloth napkins. Work slowly the first time. Once your hands understand the rhythm, each swan takes only a couple of minutes.
Step 1: Lay the Napkin Like a Diamond
Place the square napkin flat on the table. Rotate it so one corner points toward you and one corner points away from you. It should look like a diamond, not a square. If your napkin has a “better” side, place that side facing down at first so the finished swan shows the nicer surface.
Step 2: Fold in Half, Then Open
Fold the right corner over to meet the left corner, creating a tall triangle. Press firmly along the fold to make a clear center crease. Open the napkin again and return it to the diamond position. That center crease is your guide. Think of it as the swan’s future backbone, but less dramatic and with fewer biology flashbacks.
Step 3: Fold the Lower Edges to the Center
Take the lower right edge of the diamond and fold it inward so it lines up with the center crease. Press the fold flat. Repeat with the lower left edge. The napkin should now resemble a kite, with a long point facing you and a wider point at the top.
Try to keep both sides even. If one side overlaps too much, the finished swan may tilt. A little imperfection is fine; a swan with character is still a swan.
Step 4: Turn the Napkin Over
Carefully flip the folded napkin over while keeping the pointed end facing you. Smooth it gently with your hands. Do not crush the folds; just encourage them to stay where they belong, like polite guests at a buffet line.
Step 5: Fold the Long Edges to the Center Again
Now fold the lower right edge toward the center crease again. Repeat with the lower left edge. This second set of folds makes the body narrow and gives the future neck a cleaner shape. The napkin should now look like a long, slim kite or a paper airplane that decided to attend a black-tie dinner.
Step 6: Fold the Long Point Up
Take the bottom point, the one closest to you, and fold it upward toward the top point. The long point becomes the swan’s neck. Align it carefully with the center line. Press the fold at the bottom so the body has a strong base.
If the fabric is thick, do not force the point perfectly flat. Cloth has volume, and that volume is part of the finished look. A slightly rounded body can make the swan appear softer and more natural.
Step 7: Create the Head and Beak
Fold a small section of the top point downward to create the swan’s head. The folded tip becomes the beak area. For a delicate swan, make this fold small. For a playful swan, fold a slightly larger tip. Either way, press the crease firmly so the head stays in place.
Step 8: Fold the Swan in Half
Fold the napkin in half along the original center crease, keeping the neck and head on the outside. The body should now be doubled, and the neck should rise from one end. Hold the base gently with one hand while shaping the neck with the other.
Step 9: Pull the Neck Upright
Gently pull the neck upward and slightly forward until it looks graceful. Do not yank it. This is napkin folding, not a tug-of-war. Adjust the head so it points forward. The curve of the neck is what gives the swan its personality, so take a few seconds to shape it.
Step 10: Open the Base and Style the Body
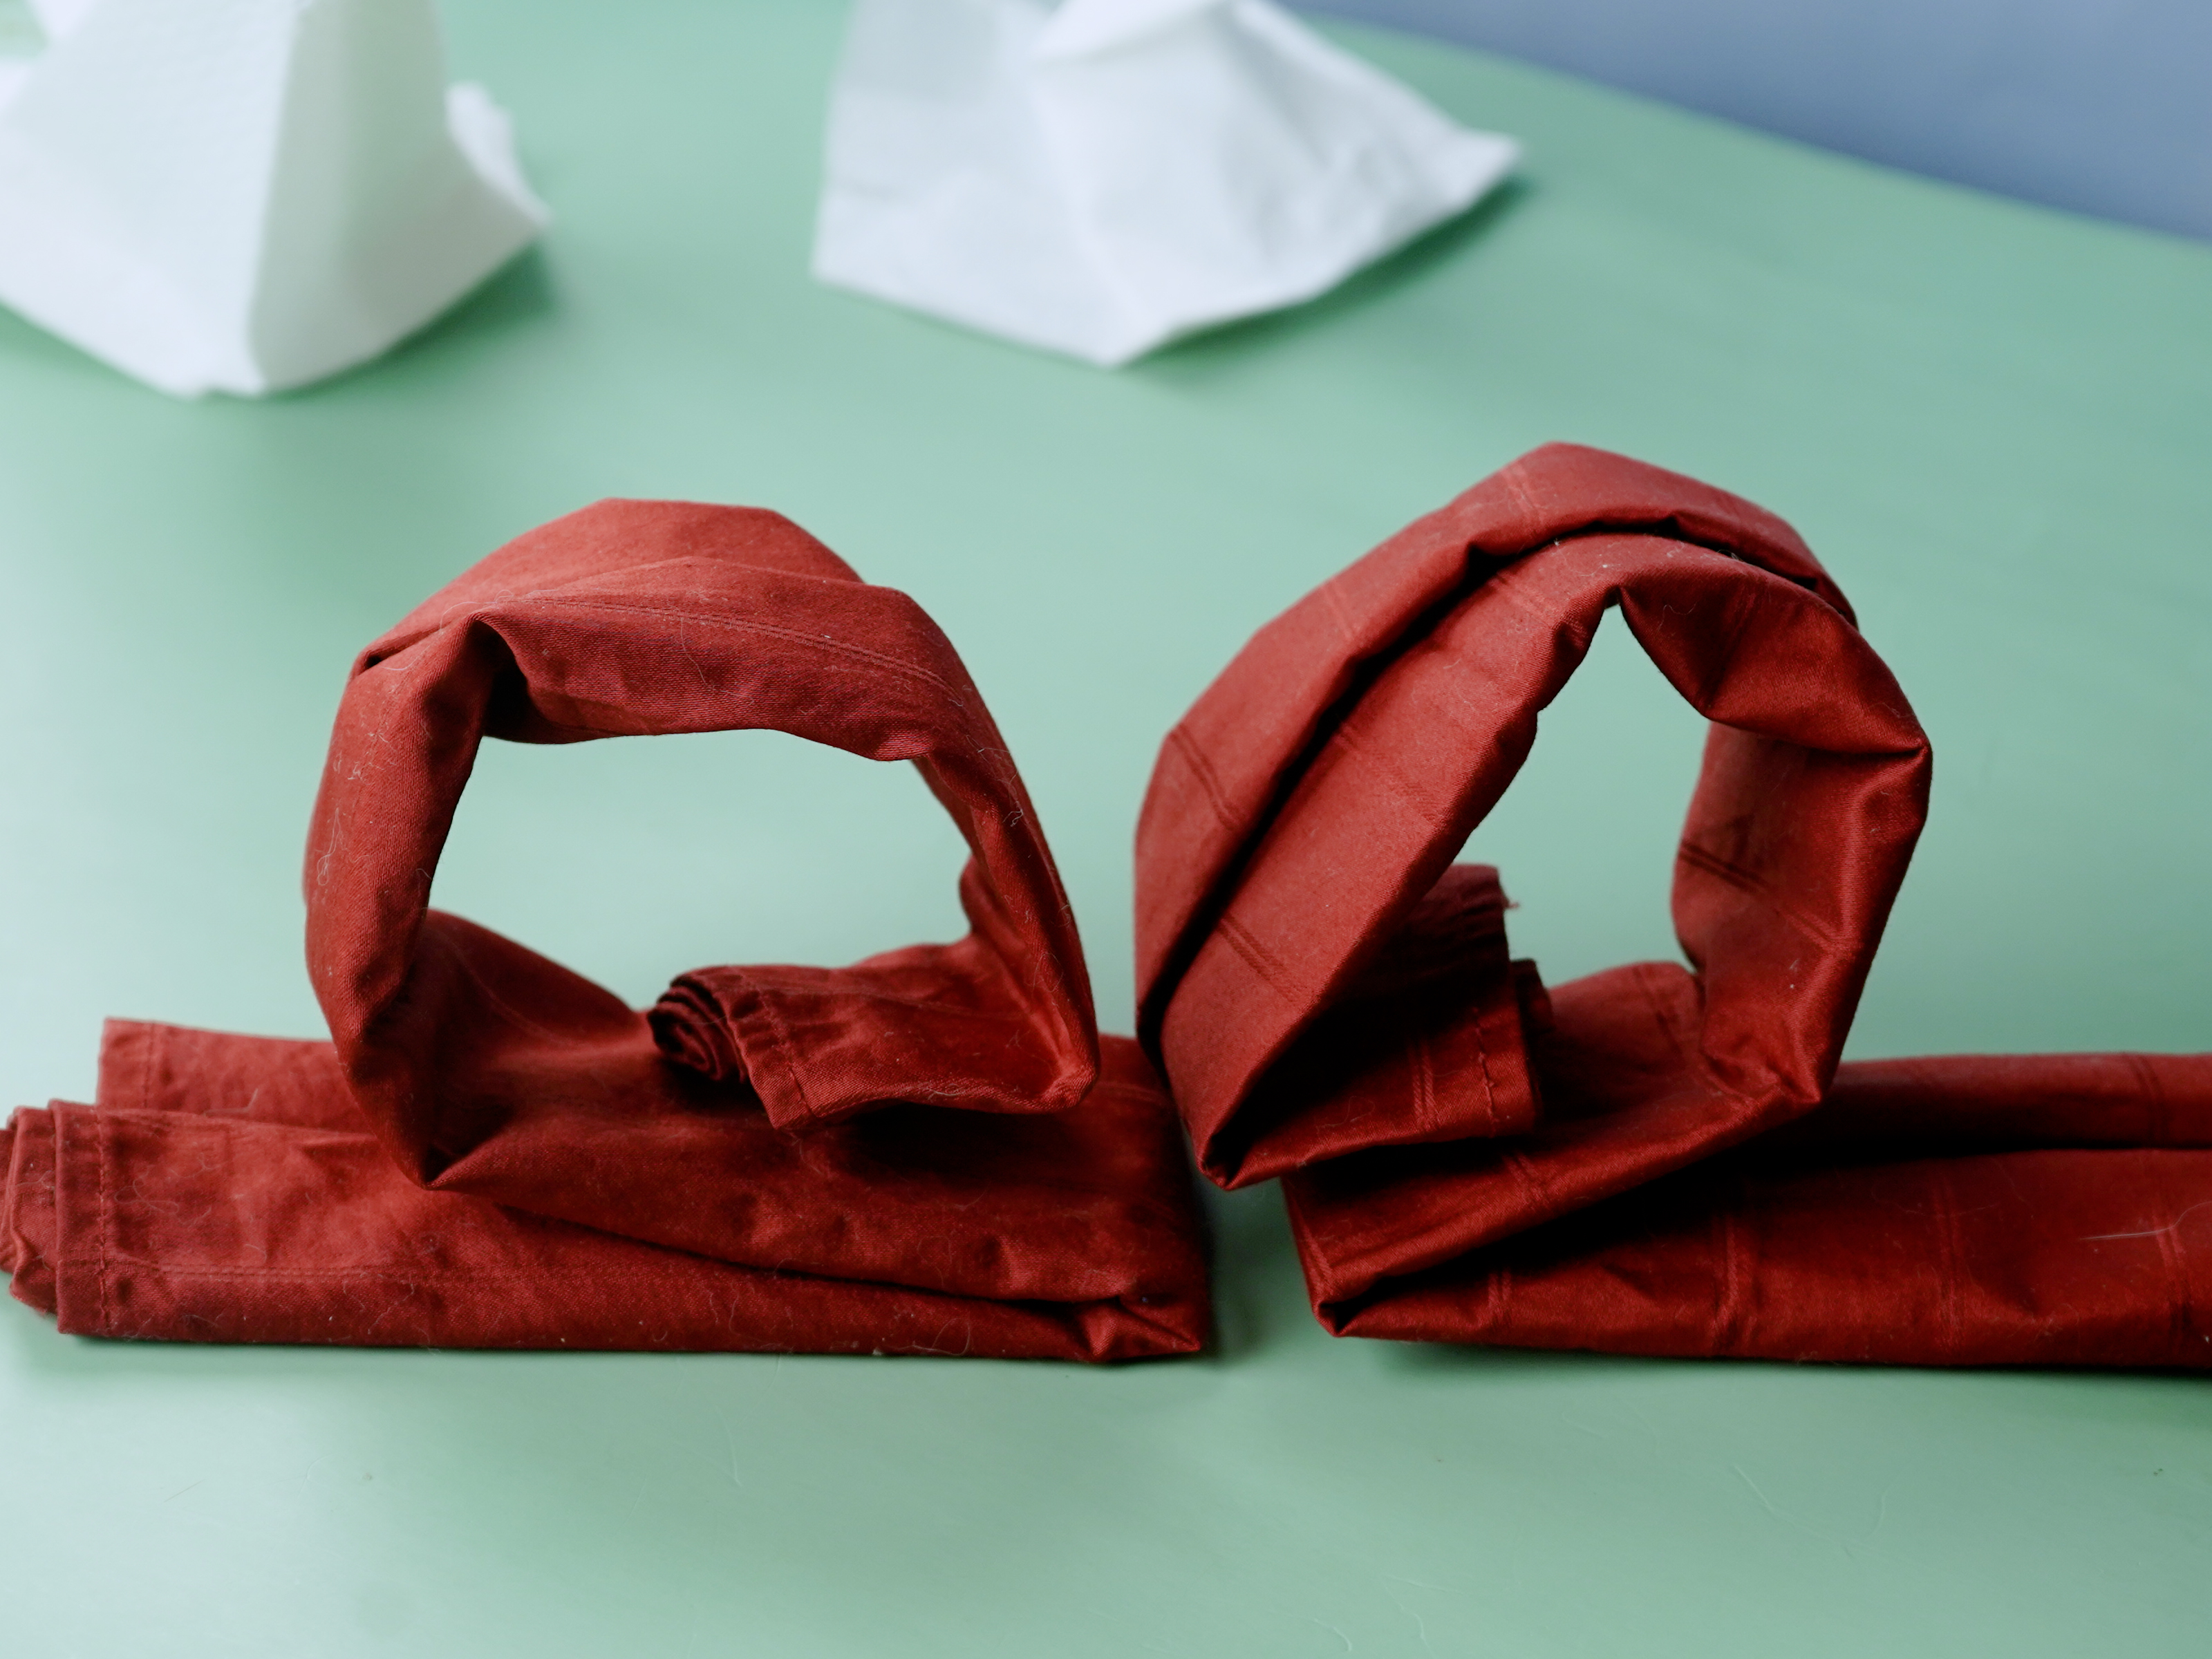
Spread the bottom layers slightly so the swan can stand. If your napkin has enough stiffness, it will balance on its own. If it wobbles, flatten the base a little more or place the swan on a dinner plate, inside a shallow bowl, or against a folded menu card for support.
How to Make the Swan Look More Professional
Use Sharp Creases
Clean creases are the secret to a good napkin swan. Each fold should be pressed with your fingertips from the center outward. If you are preparing for a large dinner, fold one test swan first and use it as your model. Once you know the angles, the rest will go faster.
Match the Napkin to the Occasion
White napkins are classic and swan-like, which is convenient because actual swans rarely show up in burgundy. However, colored napkins can be stunning. Ivory feels warm and elegant. Sage green works for garden parties. Pale blue feels fresh for spring brunch. Deep charcoal adds drama to a modern table.
Keep the Table Balanced
A swan napkin fold is already a statement, so the rest of the place setting can stay simple. Pair it with clean plates, polished flatware, and low centerpieces that do not block conversation. If every item on the table is shouting for attention, your guests may feel like they are dining inside a craft store during a thunderstorm.
Common Mistakes and Easy Fixes
The Swan Will Not Stand Up
This usually happens because the napkin is too soft, too small, or not creased firmly enough. Try ironing the napkin, using light starch, or opening the base wider. You can also place the swan on a plate with a slight rim to help support it.
The Neck Keeps Falling
A drooping neck means the fabric needs more structure. Press the folds again, especially where the neck rises from the body. If the napkin is very soft linen, embrace a gentler curve rather than forcing a stiff upright shape.
The Swan Looks Uneven
Uneven folds usually begin in Step 3. Open the napkin and check your center crease. Both sides should meet that line cleanly. A tiny mismatch is normal, but large overlaps will twist the finished bird.
The Napkin Is Too Thick
Thick napkins can make beautiful simple folds, but they are harder to shape into swans. Choose a thinner cotton or linen napkin for this design. If you only have thick napkins, make larger, looser folds and avoid pressing the neck too tightly.
Where to Place a Swan Napkin on the Table
The most popular placement is in the center of the dinner plate. This gives each guest a little “ta-da” moment as they sit down. You can also place the swan inside a soup bowl, on a salad plate, or slightly above the plate if you want the place setting to remain open.
For formal settings, remember that napkins are commonly placed either to the left of the forks or on the plate. A decorative swan belongs naturally on the plate because it functions as part of the visual presentation. Once guests sit down, they can unfold the napkin and place it on their laps.
Best Occasions for a Napkin Swan
A napkin swan is especially lovely for romantic and celebratory events. Use it for wedding receptions, engagement dinners, anniversary meals, Valentine’s Day tables, bridal showers, baby showers, Mother’s Day brunch, Easter lunch, Christmas dinner, or a hotel-inspired breakfast at home.
It can also be used for themed parties. A “swan lake” dinner, a garden brunch, a fairytale birthday, or a black-and-white formal party all welcome this fold. For a whimsical children’s tea party, use pastel paper napkins and let each child decorate a place card next to the swan.
Paper Napkin Swan vs. Cloth Napkin Swan
Paper napkins are easier for beginners because they hold sharp folds immediately. They are also inexpensive, which makes them useful for practice. However, paper swans can collapse if the napkin is thin or if the room is humid. They also feel less luxurious for formal dining.
Cloth napkins are more elegant and sustainable, especially when used regularly. They add texture and weight to the table. The challenge is that cloth needs stronger creases and sometimes light starch. For the best result, practice the fold with paper, then make the final swans with pressed cloth napkins.
Creative Styling Ideas
Add a Place Card
Place a small name card beside the swan or tuck it lightly under the base. This works well for weddings and dinner parties where assigned seating matters. Keep the card simple so it does not compete with the fold.
Use a Menu Card as a Backdrop
A vertical menu card behind the swan creates height and helps support softer napkins. It also makes the place setting look polished and restaurant-inspired.
Pair With Minimal Centerpieces
Because swan napkins already create visual interest, choose low flowers, candles, greenery, or fruit bowls for the center of the table. A few small details are enough. The goal is elegance, not a tablescape trying to win a talent show.
Real-World Experience: What Hosts Learn After Folding Napkin Swans
The first experience most people have with a napkin swan is a mix of confidence and betrayal. The first few folds seem simple. The diamond lies flat. The center crease behaves. The kite shape appears, and everything feels promising. Then comes the moment when the neck must stand up, and suddenly the napkin develops opinions. This is normal. The swan fold is not difficult, but it rewards patience.
One of the biggest lessons is that fabric choice matters more than expected. A beautiful soft linen napkin may look expensive, but if it has no stiffness, the swan can slump like it just read bad news. A plain cotton napkin with a crisp ironed finish often performs better. For an event, it is wise to test one napkin from the exact set you plan to use. Do not discover thirty minutes before guests arrive that your luxury napkins prefer abstract sculpture.
Another practical lesson is that repetition creates speed. The first swan may take five minutes. The second takes three. By the sixth, your hands understand the pattern and your brain starts thinking about dessert. If you are folding napkins for a large party, create an assembly line: iron all napkins first, fold all center creases, make all kite shapes, then form all necks and heads. This keeps the swans consistent and saves time.
Hosts also learn that guests genuinely notice small details. A swan napkin is not just decoration; it signals care. It says, “I wanted this meal to feel special.” That matters even if the roast is late, the candles are slightly crooked, or someone brought a salad that appears to be mostly croutons. A thoughtful table can warm up the entire room before the first course arrives.
There is also a useful balance between beauty and usability. A napkin still needs to be a napkin. Avoid adding pins, glue, glitter, or anything that makes guests wonder whether they are allowed to unfold it. The best swan fold looks impressive but comes apart easily when dinner begins. If the napkin is too complicated to use, it becomes table theater instead of tableware.
Finally, the swan fold teaches a comforting truth about hosting: perfection is overrated. One swan may have a proud neck. Another may look shy. A third may lean slightly, as if listening to gossip from the salad fork. That is fine. Handmade details are charming because they are handmade. When the table is full of good food, good conversation, and napkins that tried their very best to become birds, the evening already has a story.
Conclusion
Learning how to fold a napkin into a swan is a simple way to turn an ordinary table into something memorable. With a square napkin, crisp creases, and a little practice, you can create a graceful fold that works for formal dinners, weddings, holidays, and cozy meals at home. The technique is affordable, reusable, and surprisingly fun once you get the hang of it.
Start with a clean square napkin, make a strong center crease, fold both sides into a narrow kite, shape the neck and head, then open the base so the swan stands proudly. Use cloth napkins for elegance, paper napkins for practice, and a light touch of starch when you need extra structure. Most importantly, do not panic if your first swan looks more like a duck with ambition. Fold another one. By the time your guests arrive, your table will look thoughtful, stylish, and just fancy enough to make dinner feel like an event.
SEO Tags

