
Hair Care
Stop Leaks in Plumbing Joints (DIY)
Jul
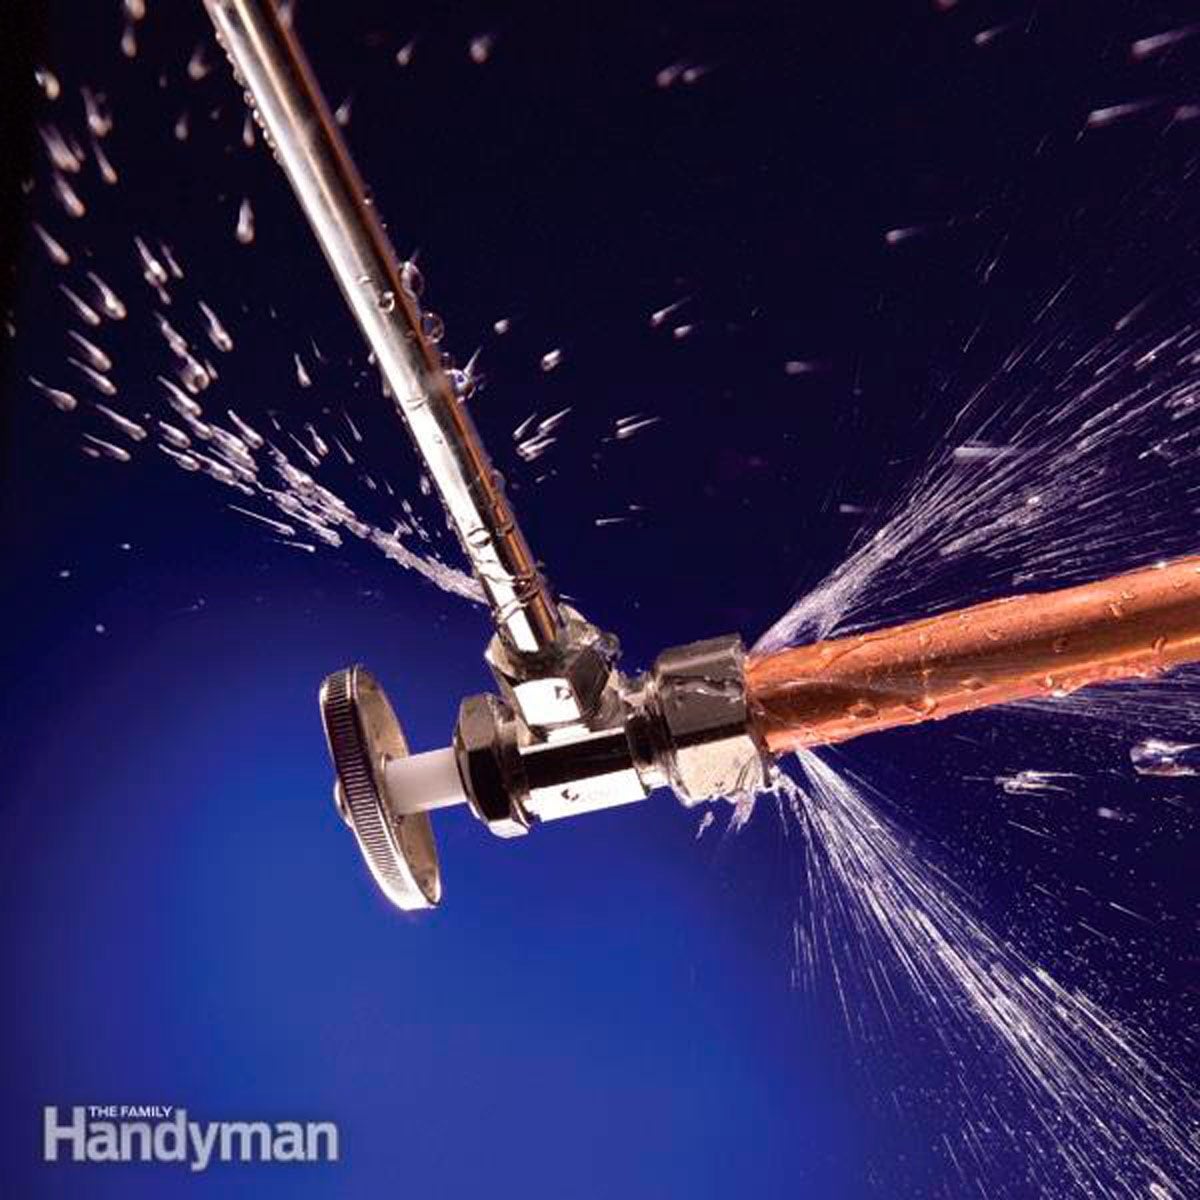
Water has a talent for finding the one tiny gap you forgot to respect. One minute your plumbing looks innocent, and the next minute there’s a drip under the sink, a damp cabinet floor, and a growing sense that your house has declared war. The good news? Many plumbing joint leaks are absolutely fixable for a careful DIYer. The trick is not brute force. It is knowing what kind of joint is leaking, why it failed, and which repair method actually matches the problem.
If you treat every leak with the same magical thinkingmore tape, more wrench, more panicyou usually get a bigger leak, a cracked fitting, or both. A better plan is simple: identify the joint, shut off the water, dry the area, and repair the connection using the right method for that style of plumbing. Think less “heroic wrestling match,” more “smart detective with a towel.”
Why Plumbing Joints Leak in the First Place
Most plumbing joints fail for boring reasons, which is actually great news. Boring problems are easier to fix than mysterious ones. The usual suspects include loose connections, worn washers, crooked assembly, old sealant, overtightened fittings, corrosion, vibration, temperature changes, or bad original installation. In older homes, you may also be dealing with tired galvanized pipe, mineral buildup, or fittings that have been removed and reused one too many times.
Some leaks are slow and sneaky. Others drip like they’re trying to make a point. Either way, the joint is usually telling you one of three things: the seal is worn out, the parts are misaligned, or the connection type was assembled incorrectly.
Start Here Before You Fix Anything
1. Shut off the water
Turn off the local shutoff valve if the leak is under a sink or near a toilet. If the leak is on a supply line and you cannot isolate it, shut off the main water supply. Open a nearby faucet to relieve pressure and drain the line.
2. Dry the joint completely
Leaks love confusion. Wipe the area dry with a rag, then watch closely so you can confirm the exact source. Water often travels down a pipe and makes the wrong fitting look guilty.
3. Identify the type of joint
This is the entire ballgame. Is it a threaded joint? A slip-joint under a sink? A compression fitting? A soldered copper connection? A glued PVC or CPVC joint? A push-to-connect repair? Each one seals differently, so each one fails differently.
4. Inspect for cracks
If the nut, fitting, or pipe is cracked, no amount of tape, paste, wishing, or motivational speeches will make it permanent. Replace the damaged part.
How to Stop Leaks in Threaded Plumbing Joints
Threaded joints are common on shower arms, threaded valves, nipples, hose bibbs, and metal-to-metal or metal-to-brass connections. These joints do not seal because the threads are magically perfect. They seal because thread sealant fills tiny gaps while helping the threads tighten smoothly.
What usually causes the leak
The most common causes are old thread sealant, wrapping PTFE tape the wrong direction, dirty threads, cross-threading, or overtightening. Yes, overtightening is a real problem. Plumbing is not a test of emotional strength.
How to fix it
Disassemble the joint and clean the male threads thoroughly. Remove old tape or compound. Then apply fresh thread sealant correctly. For many water-line threaded fittings, PTFE tape works well. Wrap it clockwise as you face the threaded end, keeping it snug and flat. Two to four wraps is usually enough. On some threaded joints, especially larger or fussier ones, pipe joint compound can also work well, and some pros use both tape and compound together on appropriate threaded applications.
Reassemble the fitting carefully and tighten it snugly without going wild. If the joint still seeps, remove it and redo the seal instead of simply muscling it harder. A clean redo beats an angry wrench every time.
What not to do
Do not put thread tape on every fitting in sight. PTFE tape is for threaded joints that seal on threadsnot for every plumbing connection in your house. It is also not the cure for cracked fittings.
How to Fix Leaking Slip-Joints Under a Sink
These are the classic tubular drain connections around a P-trap. If your cabinet smells musty and there’s a suspicious drip every time you run water, this is prime territory. Slip-joints are common because they are easy to install and easy to remove, but they only stay leak-free when the washers are seated properly and the pipes line up cleanly.
What usually causes the leak
Misaligned trap parts, backward washers, missing washers, old brittle washers, and overtightened slip nuts are the usual culprits. If the washer is crooked, the joint will leak even if the nut feels tight enough to launch a satellite.
How to fix it
Take the joint apart. Inspect the washer and replace it if it looks worn, flattened, split, or warped. Reassemble the trap so everything lines up naturally without being forced into position. Make sure the beveled washer faces the correct direction for the connection. Tighten the slip nut firmly, then test with running water.
If the joint still leaks, the trap assembly may be slightly out of alignment, or the tubing may be cut too short or too long. Reposition the trap so the pipes meet cleanly instead of fighting each other.
What not to do
Do not use PTFE tape on standard white plastic slip-joint threads. Those joints seal with the washer, not the threads. Tape on the threads often creates a false sense of progress and a very real drip.
How to Repair a Leaking Compression Fitting
Compression fittings show up on supply lines, shutoff valves, ice maker lines, and various repair couplings. These fittings seal when a ferrule, also called a compression ring, is squeezed between the nut and the fitting body.
What usually causes the leak
The pipe may not be fully inserted, the ferrule may be damaged, the connection may be under-tightened, or the fitting may be overtightened and distorted. Yes, this is another category where “more force” can make your day worse.
How to fix it
Disassemble the fitting and inspect the pipe end, ferrule, and nut. If the ferrule looks scarred or uneven, replace it. Reassemble the connection with the pipe fully seated, then tighten the nut with two wrenches so the fitting body does not twist.
If you are repairing a damaged section of copper pipe and do not want to solder, a compression repair coupling can be a practical DIY option when installed correctly on clean, square-cut pipe.
What not to do
Do not use thread sealant, pipe dope, or PTFE tape on a standard compression fitting. The seal is made by the ferrule, not the threads. Sealant on those threads does not solve the real issue.
How to Handle Leaky Copper Joints
Leaky copper joints are where DIY confidence either matures beautifully or goes outside to cry. Copper joints that were soldered badly usually leak because the pipe was not cleaned properly, the joint had water in it, the fitting was not heated evenly, or the solder never flowed fully into the connection.
When a simple fix works
If the leak is not from a cracked pipe but from a poor soldered connection, the permanent fix is usually to redo the joint properly. That often means shutting off the water, draining the line completely, cleaning the pipe and fitting thoroughly, applying flux correctly, and reworking the connection so solder flows all the way around the joint.
When to choose a different repair
If the leak is in a tight location, near combustible materials, or on a section of pipe with corrosion or pinholes, cutting out the bad piece and replacing it may be smarter than trying to save the original joint. Some DIYers also use approved compression or push-to-connect repair fittings when appropriate, especially if they want to avoid torch work.
Important safety note
If a repair requires a torch and you are not fully comfortable working around heat, framing, or finished surfaces, skip the heroics and use a safer approved method or call a plumber. There is no prize for turning a drip into a fire department anecdote.
How to Stop Leaks in PVC and CPVC Joints
Plastic supply and drain systems use solvent-welded joints, which are often described as “glued” joints, though the process is more like chemical welding than arts and crafts. When done right, the pipe and fitting become a permanent bond. When done wrong, the joint may seep, fail early, or haunt your basement at the worst possible hour.
What usually causes the leak
The common causes are out-of-square cuts, burrs, dirty or wet surfaces, poor primer/cement technique, not assembling while the cement is still active, or moving the joint before it sets. Using the wrong cement for the pipe type can also sabotage the repair.
How to fix it
For a true solvent-weld leak, the most reliable permanent repair is usually to cut out the failed joint and rebuild it with new fittings and the correct primer and solvent cement for the material. Make square cuts, remove burrs, dry-fit the pieces, and assemble promptly once the solvent is applied. Hold the joint together briefly so the pipe does not push back out.
Minor PVC leaks can sometimes be slowed with repair tape or epoxy as a short-term solution, but a failed solvent-weld joint is usually telling you it wants a real replacement, not a bandage and a pep talk.
Temporary Leak Fixes That Buy You Time
Sometimes you do not need a forever fix at 10:30 p.m. You need the leak to stop long enough to sleep, protect the floor, and gather materials. That is where temporary repairs earn their keep.
Good short-term options
A pipe repair clamp can help control a leak on a straight section of pipe. Repair wraps, epoxy putty, and self-fusing silicone tape can also help on some small leaks, especially when the surface is cleaned and dried first. Push-to-connect emergency repairs can also be effective when you cut out the damaged section and install the fitting correctly.
But remember this
Temporary repairs are not the same as permanent repairs. If the underlying pipe is corroded, split, or poorly joined, the leak may return. Treat emergency fixes like first aid, not final architecture.
Mistakes That Cause Repeat Leaks
Using the wrong sealant on the wrong joint
Threaded joints may need thread sealant. Compression fittings do not. Slip-joints under sinks rely on washers. PVC solvent-weld joints need the proper joining process, not random tape from a junk drawer.
Overtightening everything
Cracked plastic nuts, distorted ferrules, damaged threads, and split fittings are all common results of wrench enthusiasm. Tight enough is a skill. Too tight is a plumbing hobby nobody asked for.
Skipping cleaning and prep
Dirty threads, wet pipe, rough copper cuts, and burrs on plastic pipe are all leak starters. Prep is the boring part, which is exactly why it gets skipped and why leaks come back.
Ignoring pipe support
Loose or poorly supported piping can stress joints over time. If a repaired joint keeps failing, the problem may be movement, vibration, or saggingnot just the fitting itself.
When to Call a Pro
DIY is great until the repair crosses into risk, code issues, or major damage. Call a licensed plumber if the leak is inside a wall, near electrical wiring, on the main line, part of a corroded older system, or tied to repeated pressure problems. Also call a pro for gas piping, major repiping decisions, or any situation where water damage is escalating faster than your confidence.
There is also no shame in calling for help after you have already stopped the water and stabilized the situation. That still counts as a successful first response. You are not quitting; you are outsourcing Act Two.
Real DIY Experiences and Lessons From Leaky Joints
The first time many homeowners fix a plumbing leak, they assume the solution will be dramatic. In reality, the winning move is often comically small. A slightly crooked washer under a bathroom sink can drip for weeks, ruin a vanity floor, and convince you the house is collapsing, when the real fix is a two-dollar part installed the right way. That’s one of the most useful lessons in DIY plumbing: the leak may look dramatic, but the cause is often ordinary.
A very common experience happens under the kitchen sink. Someone notices water after running the disposal or draining a full basin. They tighten everything they can reach, which seems logical, until the plastic slip nut cracks or the trap ends up twisted. The better repair usually starts with taking the trap apart, cleaning the washers, replacing any flattened ones, and reassembling the pieces in a straight line. Once the trap stops fighting the geometry of the cabinet, the leak often disappears. The big takeaway is that alignment matters just as much as tightness.
Another classic scenario is the shower arm or threaded fitting that drips behind the escutcheon. DIYers often add more tape over old tape without cleaning the threads first. That repair tends to fail because the old material bunches up and keeps the fitting from seating properly. The successful fix is less glamorous: remove the fitting, strip it clean, rewrap the threads neatly in the correct direction, and reinstall it without forcing the joint. In other words, plumbing rewards patience more than stubbornness.
Plastic pipe repairs teach a similar lesson. A lot of people assume PVC or CPVC is forgiving because it is lightweight and easy to cut. But solvent-welded joints are picky in their own quiet way. If the pipe is not cut square, if burrs remain, or if the cement has already flashed off before assembly, that joint may leak even though it looked fine at first. Homeowners who succeed with plastic pipe repairs usually slow down, dry-fit everything first, and make sure they have the right primer and cement before opening the can. The repair gets easier the moment the prep gets more disciplined.
Copper repairs are often the moment where DIYers learn their personal comfort zone. Some people find soldering satisfying after a little practice. Others decide, quite reasonably, that open flame in a stud bay is not their dream hobby. Both reactions are valid. The smartest DIY experience is not “I can do everything.” It is “I know which repairs I can do well.” Plenty of homeowners handle shutoff, diagnosis, disassembly, and cleanup themselves, then bring in a plumber for the final copper repair. That still saves time, reduces damage, and keeps the process under control.
The bigger pattern in all these experiences is that successful plumbing repairs come from matching the method to the joint. A slip-joint wants a washer. A threaded fitting wants proper thread sealing. A compression fitting wants a sound ferrule and balanced tightening. A bad solvent-weld joint usually wants replacement, not denial. Once you understand that each connection has its own logic, leaks become much less mysterious. They stop feeling like homeownership punishment and start feeling like mechanical puzzles you can solve.
And maybe that is the most encouraging part. Stopping leaks in plumbing joints is not about becoming a master plumber overnight. It is about getting calmer, more observant, and more methodical. Put a bucket under the drip, turn off the water, and let the fitting tell you what kind of repair it needs. Plumbing may still be humbling, but at least now it is humbling in a much drier house.
Final Thoughts
If you want to stop leaks in plumbing joints, resist the urge to treat every drip like a generic plumbing emergency. The fastest path to a dry result is identifying the joint type and repairing it the way that connection was designed to seal. Clean threads, fresh washers, proper alignment, careful tightening, and realistic judgment about temporary versus permanent fixes will take you a long way.
And remember: a leak that drips once every few seconds may still waste a surprising amount of water over time. Fixing it promptly is not just good for your cabinets and floors. It is good for your water bill, your stress level, and your future weekend plans.

