
Skincare
Build & Publish a Flow – Userpilot
Jul
If you’ve ever watched a brand-new user land in your product, squint at the UI, and immediately click the digital equivalent of “Nope,” you already know why in-app onboarding exists.
A well-built Userpilot Flow can turn that moment into momentumguiding people to their first win without making them feel like they’ve been trapped in a pop-up escape room.
In this guide, you’ll learn how to build, test, publish, and optimize a Flow in Userpilotwith concrete examples, practical guardrails, and enough humor to keep your brain from buffering.
We’ll also cover what “good” looks like (hint: it’s not a 27-step tour that narrates every button like it’s an audiobook).
What “a Flow” Means in Userpilot (and When It’s the Right Tool)
In Userpilot, a Flow is a guided in-app experience made up of interactive stepslike tooltips, modals, slideouts, and driven actionsdesigned to help users navigate features, complete tasks, and discover value without leaving your product.
Think: “helpful GPS,” not “backseat driver.” Userpilot positions flows as a way to onboard, educate, and engage users directly inside the app.
Common use cases that actually work
- New-user onboarding: guide signups to activation (their first meaningful outcome).
- Feature adoption: introduce a new feature when it’s relevantnot when you’re excited.
- Process guidance: help users complete multi-step tasks (setup, integrations, configuration).
- Change management: explain UI updates so support tickets don’t multiply overnight.
- Self-serve support: reduce “How do I…?” messages by putting answers where questions happen.
Before You Build: Set Yourself Up for a Flow That Doesn’t Flop
The best flows feel like they appear at the exact right moment. The worst ones feel like an interruption from someone selling timesharespersistent, confusing, and somehow always showing up when you’re busy.
The difference is prep.
1) Decide the job-to-be-done (one Flow, one mission)
Your Flow should do one of these things:
(a) get users to a quick win, (b) unblock a common task, or (c) drive adoption of a specific feature.
If your goal statement contains the word “and” more than once, you’re probably building a mini-course.
2) Define your audience (because “everyone” is not a segment)
The same message lands differently for different people. A CFO doesn’t want the same onboarding path as an intern. Segment by role, plan, lifecycle stage, or behavior.
The more precise your targeting, the less “flow fatigue” you’ll create.
3) Know what success looks like (pick a measurable goal)
You’ll want to connect the Flow to an outcome: visiting a page, clicking a key element, completing an event, or hitting a custom milestone. If you can’t measure it, you’ll end up optimizing based on vibes and Slack reactions.
4) Keep it contextual (UX research backs this up)
UX guidance consistently finds that long, interruptive tutorials tend to be forgotten and can hurt task performance, while contextual help is more effective when it’s available at the moment of need.
That’s your green light to focus on “right place, right time,” not “grand tour of the entire product.”
Step-by-Step: How to Build a Flow in Userpilot
Userpilot’s documentation breaks Flow creation into practical prerequisites and a simple build process. Here’s the version you can follow without opening 19 tabs (though, no judgment if you do).
Prerequisites you’ll want in place
- Install the Userpilot Chrome extension (it’s required to access the builder).
- Be logged in to your Userpilot account.
- Have access to the web app where you’ll build the Flow.
- Ensure the Userpilot SDK/snippet is installed on the pages you’ll target.
Create the Flow (two ways)
-
From inside your app (via the extension):
open your web app, click the Userpilot extension icon, and launch the builder. -
From the Userpilot dashboard:
go to Engagement Layer > Flows > Create New Flow, then open the builder on the page you want.
Start building on the right page
Once the builder is open, choose Create New Content, navigate to the exact page where the Flow should live, and select Start Here.
This matters because many steps (like tooltips or driven actions) need to attach to real UI elements on real screens.
Add steps using the right UI patterns
Userpilot offers several step types. Pick the one that matches how “interrupt-y” you want to be:
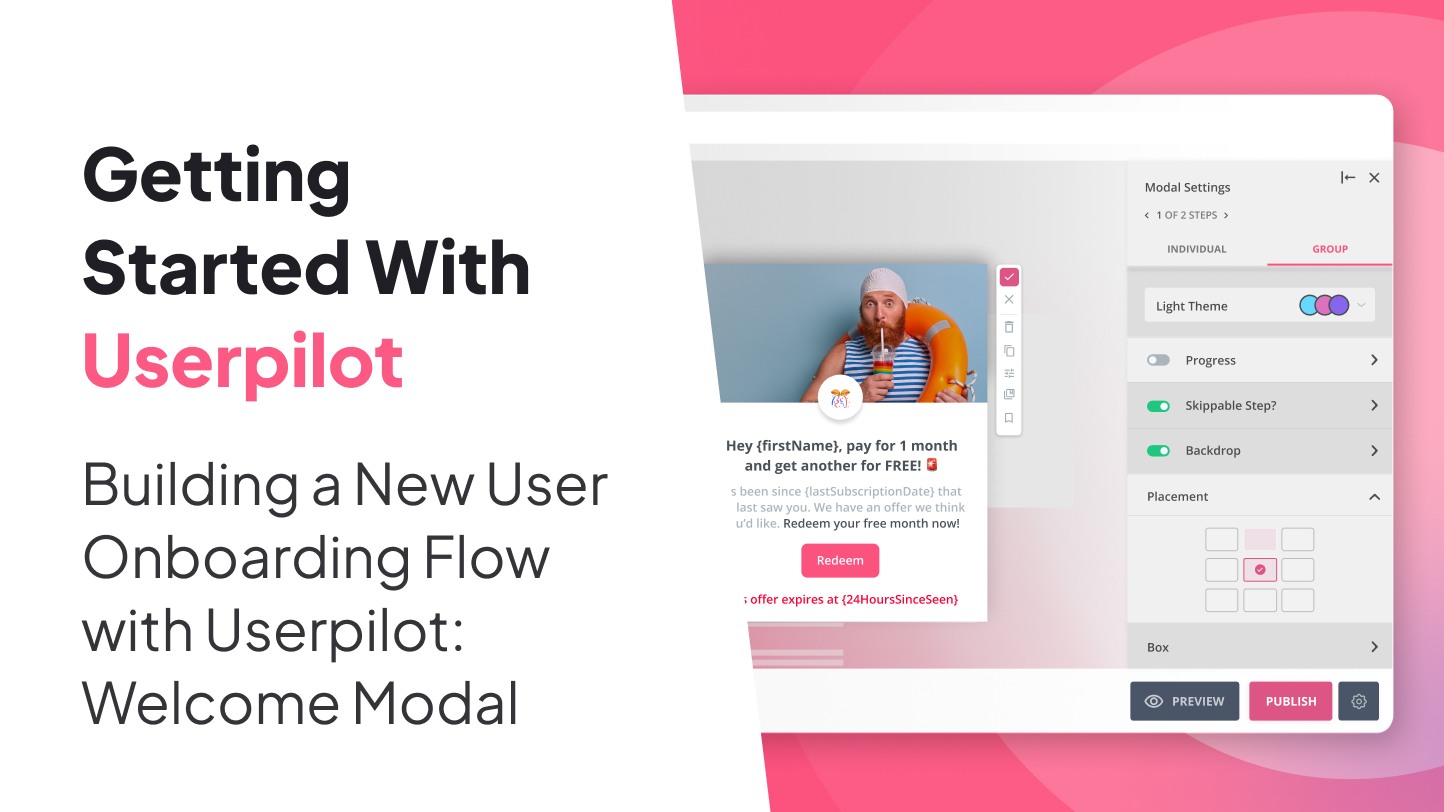
- Modal: big, centered, attention-grabbing. Best for major announcements or an onboarding welcome (use sparingly).
- Slideout: noticeable, but less disruptivegood for secondary guidance and nudges.
- Tooltip: anchored to a specific elementideal for contextual instructions.
- Driven Action: like a tooltip, but it waits for the user to interact (click, type, etc.). Great for “do the thing” onboarding.
Pro tip: if your Flow is meant to teach behavior (not just point at UI), driven actions are your best friend.
They turn “Next, next, next” into “click here, now you’ve actually done it.”
Configure Flow Settings So It Shows Up Like Magic (Not Like Spam)
Building the steps is only half the job. The real power is in when, where, and to whom the Flow appears.
Userpilot’s Flow Settings cover trigger type, environment/domain/page targeting, audience rules, goals, and frequency.
1) Choose a trigger type
- Page-specific: show the Flow based on page/page rules.
- Event-occurrence: trigger when a tracked event happens (example: “created invoice”).
- Only manually: trigger from other Userpilot content (buttons, checklists, resource center), via permalink, or programmatically.
If you want a Flow to appear exactly after a user does something meaningful, event-based triggering is the cleanest approach.
If you want it available on-demand, manual triggering keeps it from hijacking the session.
2) Select environment and domains (ship safely)
Userpilot supports controlling where Flows runuseful if you want to test on staging before rolling to production.
Domain targeting lets you show Flows on all domains where the snippet is installed, or only specific ones, including dynamic matching using wildcards/regex-style rules.
3) Set page targeting (don’t accidentally guide users on the wrong screen)
You can target any page, a specific page, or paths using operators like starts-with, contains, ends-with, equals, or regex matching.
This is huge for apps with dynamic URLs or multi-tenant routing.
4) Define your audience (testing vs real users)
- All users: default.
- Only me: great for testingrequires builder access and the extension.
- Saved segments: reusable targeting across multiple Flows.
- Custom conditions: user/company properties, auto-collected properties, and event behavior.
5) Add a goal (so you can prove it worked)
Goals can include visiting a tracked page, clicking an element (often via labeled/no-code events), triggering a tracked event, or achieving a custom event.
Without a goal, you’ll know people saw your Flow, but not whether it moved the needle.
6) Set frequency (the “please don’t annoy my users” settings)
Frequency options let you show a Flow once, every time conditions are met, on time-based recurrence, or until a goal is met.
When in doubt, start conservative. You can always increase exposure. Undoing user irritation is… harder.
Testing: Preview Mode vs Test Mode (and Why You Need Both)
Userpilot recommends testing before launch and provides two approaches: Preview Mode and Test Mode.
Use them like you’d use unit tests and stagingnot because you love process, but because you love not getting paged.
Preview Mode (fast content and layout checks)
- Walk through the Flow inside the builder.
- Confirm each step appears on the correct page.
- Interact with buttons, fields, redirects, and step behaviors.
- Important: targeting/triggering rules aren’t applied in preview.
Test Mode (real-world behavior checks)
- Experience the Flow like an end user.
- Verify audience targeting and trigger conditions.
- Test how multiple live Flows interact.
- Reset test user history to rerun the Flow.
Test Mode requires the Flow to be published, the snippet installed, and your test user properly identified.
In other words: it’s where reality lives.
Publishing Your Flow Without Breaking Trust
Publishing isn’t just flipping a switch. It’s deciding how controlled your rollout should be.
Userpilot’s docs describe options like restricting to staging domains, limiting to yourself/colleagues, or targeting internal accountsperfect for controlled launches.
A sane rollout plan
- Internal first: “Only me” or internal accounts, repeatable triggers, rapid iteration.
- Staging domain: validate in a safe environment, especially for complex apps.
- Small segment: roll out to a narrow cohort (new signups, one persona, one plan tier).
- Broader launch: expand once analytics show healthy completion and low dismissal.
Bonus trust tip: let users skip, snooze, or re-open later. When users feel in control, they don’t treat onboarding like a pop-up ad they have to swat away.
Measure Performance: What to Watch After You Publish
A Flow isn’t “done” when it’s live. It’s done when it reliably improves activation, adoption, or task completion.
Userpilot’s Flow analytics include key flow-level metrics and step-level insights so you can spot drop-offs and friction.
Key Flow metrics to monitor
- Total Shown: unique users who saw the Flow.
- Completed: users who finished all steps.
- Dismissed: users who dismissed/exited the Flow.
- Average Time to Complete: how long it took users to finish.
You can use these to answer practical questions fast:
Are users seeing it? Are they finishing it? Are they rage-closing it? Are they taking forever because step 3 is confusing?
Connect Flow data to product adoption metrics
Adoption is bigger than onboarding completion. Product analytics teams often track adoption as the journey from first exposure to repeated value.
Tools like Mixpanel and Amplitude regularly recommend funnels and cohort analysis to identify drop-offs, time-to-value, and retention patterns.
That means your Flow metrics should ladder up to a broader activation/adoption funnelnot live in isolation.
Optimization moves that usually pay off
- High shown + high dismissed: tighten targeting or reduce disruption (swap modals for tooltips/slideouts).
- Drop-off at a specific step: rewrite copy, move the step, or use a driven action to force the “aha” interaction.
- Completion is fine, adoption isn’t: your Flow may be teachy but not value-drivenrefocus on outcomes.
- Time to complete is high: shorten the Flow, remove steps, or split into milestone-based micro-flows.
Flow Examples You Can Steal (Politely)
Example 1: New user activation Flow (3–5 steps)
Many onboarding best-practice guides recommend keeping tours short and focused on a quick win.
A simple Flow could:
- Tooltip: “Start by creating your first project.”
- Driven action: user clicks “New Project.”
- Tooltip: point to required field and explain what good input looks like.
- Driven action: user clicks “Save.”
- Slideout: celebrate + suggest the next meaningful action (invite a teammate, connect integration).
Example 2: Feature adoption Flow triggered by an event
Say you launched “Automations.” Don’t show it to everyone immediately. Trigger it when a user repeats a manual action 3+ times (or completes an event that indicates readiness).
Then:
- Slideout: “Want to stop doing this manually?”
- Tooltip: highlight the automation rule builder.
- Driven action: user clicks “Create rule.”
- Modal (optional): show a template picker (keep it short).
Example 3: Self-serve support Flow (manual trigger)
For advanced features, a manual Flow is often better than an automatic one. Add it to a resource center or checklist task:
- “Learn how to build a dashboard” (user opts in).
- Flow walks them through 4–6 key actions with driven steps.
- Ends with a link-style CTA (inside the Flow) to documentation or an internal “examples” page.
Common Mistakes (and Quick Fixes)
- Mistake: A Flow that explains everything. Fix: pick one job-to-be-done and cut steps aggressively.
- Mistake: Showing a modal the moment users log in. Fix: trigger after intent (page view, event, milestone).
- Mistake: Targeting “All users.” Fix: segment by role, plan, lifecycle, or behavior.
- Mistake: No measurable goal. Fix: track the action that signals activation or adoption.
- Mistake: Users dismiss it constantly. Fix: simplify copy, reduce disruption, refine relevance, offer re-open later.
- Mistake: Flow appears on the wrong page. Fix: tighten URL/path targeting and test dynamic routes.
- Mistake: Too many Flows back-to-back. Fix: use prioritization and throttling/frequency caps.
- Mistake: “Next” button spam. Fix: use driven actions where behavior matters.
- Mistake: Great completion, no adoption lift. Fix: rewrite around outcomes (“finish setup”) not features (“this button”).
- Mistake: Shipping without real testing. Fix: Preview for layout, Test Mode for targeting + triggers.
Field Notes: What Teams Learn After Publishing a Few Flows (Extra Experiences)
Here’s the part nobody tells you during the “launch party” phase: your first Flow is rarely your best Flow. Not because your team isn’t smart,
but because users are unpredictable in the most predictable ways. They skim, they click the wrong thing, they ignore your carefully crafted microcopy,
and they will absolutely try to close your tooltip by clicking the background 11 times like it owes them money.
One of the most common experiences product teams report after publishing a Flow is this: the Flow performs “fine” in internal testing,
but real users behave differently. Internally, everyone knows what the feature does and where the UI livesso steps feel obvious.
In production, users don’t share your mental model. They might not recognize the label you chose. They might not have the permissions you assumed.
Or they’re in a different workflow entirely. This is where audience conditions and event-based triggers become less of a “nice-to-have”
and more of a “please save our support team.”
Another frequent lesson: short beats comprehensive. Teams often start with a Flow that resembles a guided museum tour:
“On your left, the Settings menu. On your right, the Dashboard. Please don’t touch the exhibits.” Users don’t want a tour; they want results.
When teams refactor Flows to focus on a single quick winlike completing setup, inviting a teammate, or creating the first artifactcompletion rises,
dismissals drop, and downstream adoption improves. The Flow stops being “training” and starts being “help.”
Teams also discover that driven actions quietly outperform passive steps for anything skill-based. A tooltip that says “Click ‘Create’”
is easy to skip. A driven action that waits for the click turns learning into doing. That small shift is often the difference between
“users saw the Flow” and “users changed behavior.” In practice, teams tend to reserve modals for big moments (welcome, major announcements),
and rely on tooltips/driven actions for the everyday guidance that actually moves users forward.
Then there’s the “Flow traffic jam” problem. As teams mature, they create more Flows: onboarding, feature announcements, upgrade nudges,
survey prompts, support guidance. Without prioritization and throttling, users can get hit with multiple experiences in one session.
The result is predictable: irritation, dismissals, and users mentally categorizing your product as “that app that keeps yelling at me.”
Teams that implement prioritization, frequency controls, and spacing usually see healthier engagement across all in-app experiences,
not just one Flow.
Finally, teams learn that analytics isn’t just reportingit’s design input. When step-level metrics show a consistent drop-off, the best teams don’t blame users.
They ask: “What’s confusing here?” Sometimes the fix is copy. Sometimes it’s changing where the step anchors. Sometimes it’s removing the step entirely.
And sometimes the honest answer is: “This Flow is trying to solve a product UX problem.” That’s a powerful realizationbecause onboarding should support the product,
not compensate for it forever. The best long-term experience is the one users don’t need a Flow to understand.
Conclusion
Building and publishing a Flow in Userpilot is straightforward: create steps with the right UI patterns, configure targeting and triggers,
test in Preview and Test Mode, publish with a controlled rollout, then optimize using completion, dismissal, and step-level insights.
The real craft is making your Flow feel like a timely assistnot an interruption.
Keep it short, keep it contextual, measure outcomes, and iterate like you mean it.

