
Hair Care
How to Take a Screenshot in a PC Game: Steam, PrtSc & More
Jul
Note: This article is written for web publication in standard American English and is based on real, current PC screenshot methods used across Steam, Windows, Xbox Game Bar, NVIDIA App, AMD Software, Ubisoft Connect, Epic Games Store titles, GOG Galaxy, and popular third-party capture tools.
Every PC gamer eventually meets the same dramatic moment: something incredible happens on screen, your jaw drops, and your hands suddenly forget how keyboards work. Maybe you landed a ridiculous headshot, discovered a bug that turned your horse into modern art, or built a base so beautiful it deserves its own tiny mortgage. Whatever the moment, knowing how to take a screenshot in a PC game can turn “you had to be there” into “behold, I brought evidence.”
The good news is that PC gaming gives you more screenshot options than a character creator gives you eyebrow sliders. The slightly less good news is that those options are scattered across Steam, Windows shortcuts, GPU overlays, game launchers, and third-party tools. This guide explains the easiest ways to capture PC game screenshots, where your images usually save, how to fix common problems, and which method works best for different gaming situations.
Quick Answer: The Best PC Game Screenshot Shortcuts
If you only need the fastest answer, start here. For Steam games, press F12. For any Windows PC game, try Windows + Alt + PrtSc with Xbox Game Bar. For a full-screen Windows screenshot, use Windows + PrtSc. For a selected area, press Windows + Shift + S. If you use NVIDIA, Alt + F1 captures a screenshot through the NVIDIA overlay. If you use AMD Software, check the Media Hotkeys section in AMD Software: Adrenalin Edition because screenshot shortcuts can be configured there.
| Method | Shortcut | Best For |
|---|---|---|
| Steam Screenshot | F12 | Steam games, easy sharing, game-specific libraries |
| Print Screen | PrtSc | Fast clipboard capture |
| Windows Save Screenshot | Windows + PrtSc | Saving the whole screen automatically |
| Snipping Tool | Windows + Shift + S | Capturing a selected region |
| Xbox Game Bar | Windows + Alt + PrtSc | PC games outside Steam |
| NVIDIA App | Alt + F1 | GPU overlay screenshots, HDR/SDR captures |
How to Take a Screenshot in Steam
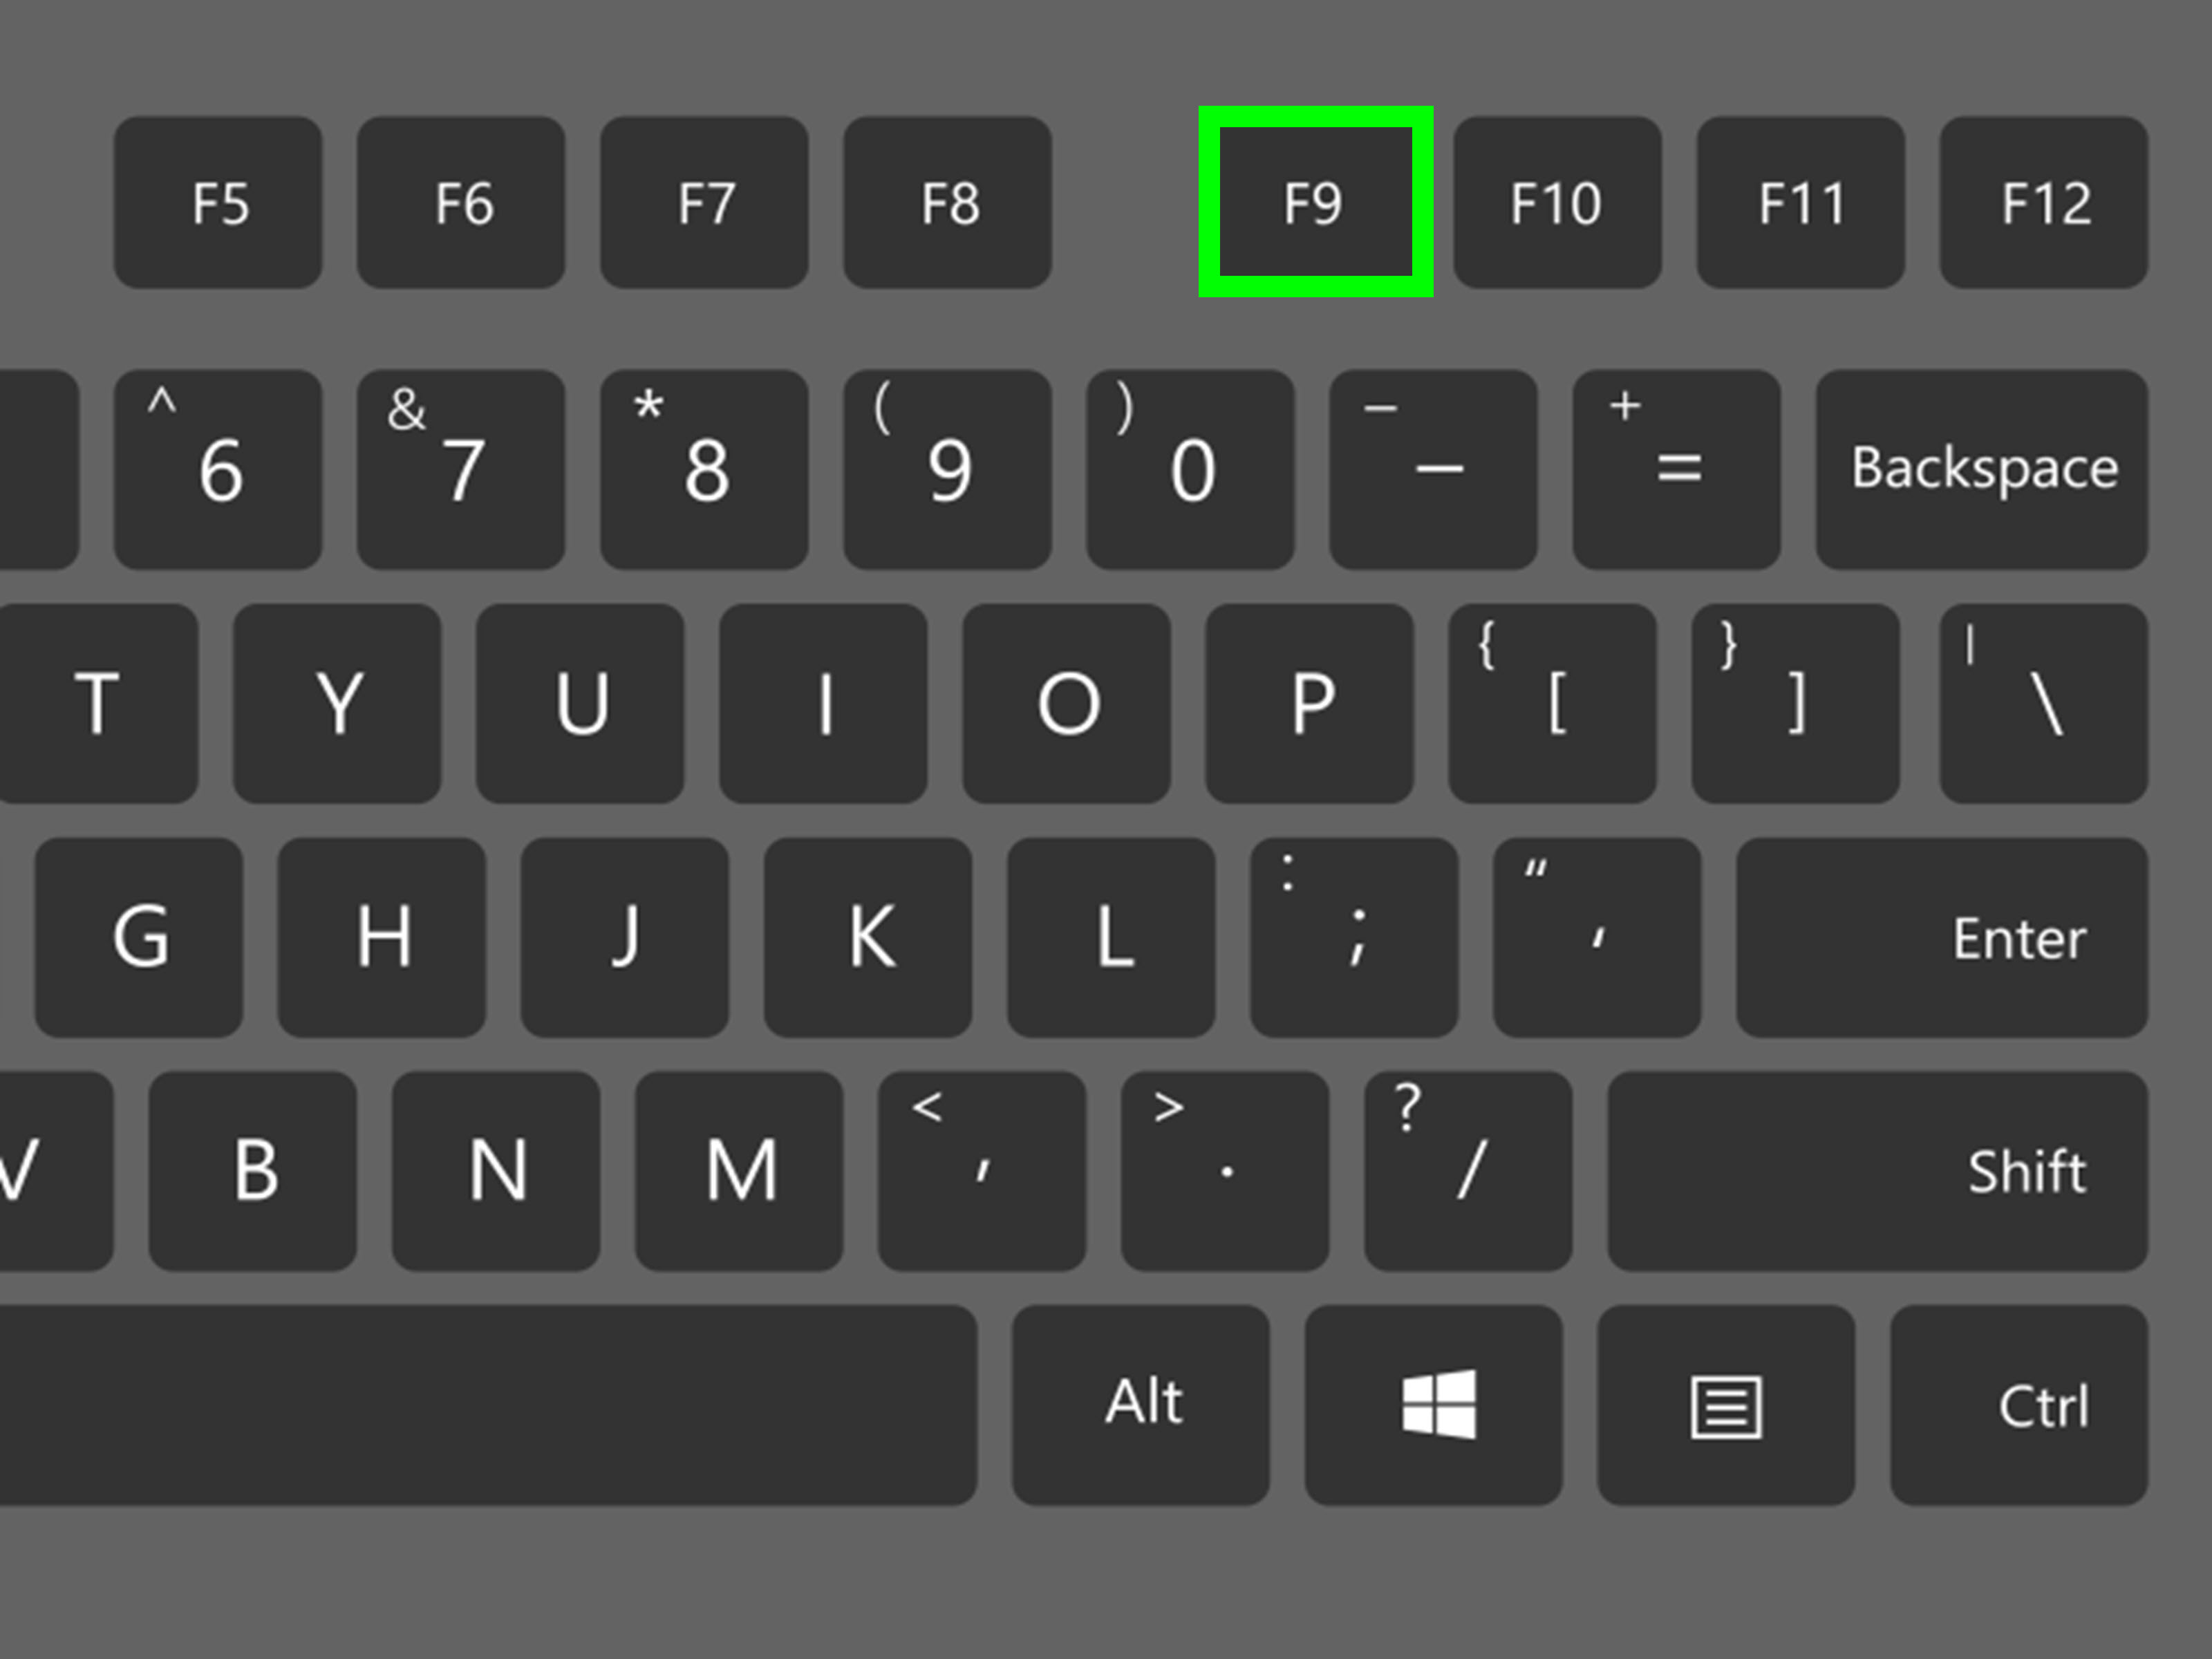
Steam is the most beginner-friendly screenshot tool for PC gaming because it is built directly into the Steam Overlay. Launch your game through Steam, wait for the perfect moment, and press F12. You should hear a small camera sound or see a notification confirming the screenshot. Congratulations: your digital trophy has been captured, and no NPC can deny it.
Where Steam Screenshots Are Saved
The easiest way to find Steam screenshots is through the Steam client. Open Steam, go to View, then choose Screenshots. From there, you can browse captures by game, upload them, delete the weak ones, or locate the files on your computer. Steam also lets you change the screenshot hotkey and screenshot settings under Settings > In-Game.
Steam is ideal if you want screenshots grouped neatly by game. It is especially useful for players who capture builds, achievements, funny glitches, modded scenes, or comparison shots. The only catch is that Steam screenshots require the Steam Overlay to be active. If F12 does nothing, your overlay may be disabled, blocked by another overlay, or conflicting with another app that also thinks F12 belongs to it. Typical PC behavior: two programs fighting over one key like toddlers over the last cookie.
How to Use PrtSc in a PC Game
The classic PrtSc key, also labeled Print Screen or PrtScn, is the old-school screenshot method. Pressing it usually copies the screen to your clipboard. After that, you can paste the image into Paint, Photoshop, Discord, Word, or another app with Ctrl + V. This is simple, fast, and surprisingly reliable when overlays are being moody.
Use Windows + PrtSc to Save Automatically
If you do not want to paste manually, press Windows + PrtSc. Windows saves the screenshot automatically, usually in Pictures > Screenshots. This is great for quick captures, but be careful with multi-monitor setups. A full-screen Print Screen capture may include every monitor, including your game, your chat window, your music player, and that browser tab you absolutely meant to close earlier.
Use Alt + PrtSc for the Active Window
Alt + PrtSc captures only the active window and copies it to the clipboard. This can work well for windowed or borderless games, but it may not behave perfectly in exclusive full-screen mode. If your screenshot comes out black, blank, or oddly frozen, switch the game to borderless windowed mode and try again.
How to Screenshot a Selected Area with Snipping Tool
For precise captures, use Windows + Shift + S. This opens the Windows Snipping Tool overlay, where you can select a rectangle, freeform shape, window, or full screen. It is excellent for capturing a scoreboard, UI bug, map section, inventory item, or one suspiciously smug goblin in the corner.
The Snipping Tool is not always the best choice for fast action because opening the selection overlay can interrupt your timing. It shines when the game is paused, when you are in a menu, or when you want to crop before saving. For competitive multiplayer, use a one-key method instead. Nobody wants to lose a round because they were carefully drawing a rectangle around a kill feed.
How to Take PC Game Screenshots with Xbox Game Bar
Xbox Game Bar is built into Windows and works with many PC games, including games from launchers that do not have their own screenshot tool. Press Windows + G to open the Game Bar overlay, then use the Capture widget and click the camera icon. For a faster shortcut, press Windows + Alt + PrtSc.
Where Xbox Game Bar Screenshots Save
Game Bar screenshots usually save in Videos > Captures. That location feels a little strange for still images, but it makes sense because Game Bar handles both screenshots and video clips. If you cannot find your image, open Game Bar with Windows + G, go to the Gallery or Capture widget, and view recent captures from there.
Xbox Game Bar is a strong all-purpose option for Epic Games Store titles, EA app games, Microsoft Store games, and many standalone PC games. It is also handy when Steam’s overlay is disabled or when a game is not launched through Steam.
How to Use NVIDIA App Screenshots
If your PC uses an NVIDIA GPU, the NVIDIA App overlay offers another excellent screenshot method. Press Alt + F1 to capture a screenshot while gaming. You can also open the overlay with Alt + Z and access capture tools from the interface. In compatible games, NVIDIA Photo Mode can provide advanced screenshot options through Alt + F2, such as camera angle adjustments and visual filters.
NVIDIA screenshots are especially useful for players who care about high-quality captures, HDR screenshots, cinematic shots, or photo mode composition. If the shortcut does not work, check whether the NVIDIA overlay is enabled and whether another app is using the same hotkey. Shortcut conflicts are common on gaming PCs, mostly because every app thinks it is the main character.
How to Use AMD Software Screenshots
AMD Software: Adrenalin Edition includes capture and media tools for Radeon users. AMD’s recording and media settings can be controlled with configurable hotkeys, and you can view or change them by searching for Hotkey inside AMD Software and checking the Media Hotkeys section.
This is a good option if you already use AMD Software for performance monitoring, instant replay, recording, or streaming. As with NVIDIA, make sure your overlay and media features are enabled. If your shortcut does nothing, open AMD Software directly and confirm that the screenshot hotkey is assigned, not conflicting, and not disabled.
What About Ubisoft Connect, Epic Games, and GOG?
Ubisoft Connect
Ubisoft Connect PC supports screenshots in many Ubisoft games, commonly with F12 by default. You can change the assigned screenshot key in Ubisoft Connect settings. If both Steam and Ubisoft Connect are active, they may fight over F12. In that case, change one of the screenshot keys so each overlay has its own lane. Think of it as traffic control, but for keyboard chaos.
Epic Games Store
The Epic Games Store launcher does not work exactly like Steam’s screenshot manager for every title. For Epic games, Windows methods such as Windows + Alt + PrtSc, Windows + PrtSc, Snipping Tool, NVIDIA App, AMD Software, or third-party tools are usually the most reliable choices.
GOG Galaxy
GOG Galaxy has supported overlay-based screenshots in some games, often associated with F12, but behavior can vary by game and overlay compatibility. If GOG’s screenshot feature is not working, use Xbox Game Bar, Print Screen, or a GPU overlay as a fallback.
Best Third-Party Screenshot Tools for PC Games
Most gamers can survive happily with Steam, Windows, and GPU tools. However, third-party apps are useful if you need more control, automated folders, annotations, file naming, instant uploads, or capture workflows for guides and content creation.
OBS Studio
OBS Studio is best known for streaming and recording, but it can also help creators capture clean gameplay visuals through scenes and sources. It is ideal if you are already recording gameplay, making tutorials, or producing YouTube content. OBS may be more setup-heavy than a simple screenshot key, but it gives creators a professional workflow.
ShareX
ShareX is a free, open-source Windows screenshot tool with advanced capture, editing, automation, and sharing features. It is excellent for power users who want custom hotkeys, automatic saving, annotations, watermarks, upload destinations, and tidy workflows. It may be more tool than casual players need, but for guide writers, reviewers, and bug reporters, ShareX is a tiny productivity dragon.
Fraps
Fraps is an older Windows tool famous for FPS benchmarking, video capture, and screenshots in DirectX or OpenGL games. It is not as modern as today’s overlays, but many longtime PC gamers remember it fondly. If you are playing older games, Fraps can still be worth knowing about.
How to Take Better Game Screenshots
A screenshot is more than proof that something happened. A great screenshot tells a story. Before pressing the key, hide the UI if the game allows it, raise the resolution, pause during animation-heavy moments, and use in-game photo mode when available. If the game has depth of field, field of view, camera tilt, time-of-day controls, or character poses, experiment. Yes, this may turn a five-second capture into a 20-minute photography session. That is normal. That is how screenshots become art and dinner gets cold.
For cleaner results, use borderless windowed mode when normal shortcuts fail. Turn off distracting overlays, including FPS counters, chat notifications, achievement popups, and performance graphs unless they are part of the point. If you are capturing a bug for support, do the opposite: include enough UI to show the problem clearly. A beautiful cropped image of “something broke somewhere” is not very helpful to a developer.
Common Screenshot Problems and Fixes
My Screenshot Is Black
Black screenshots often happen because of exclusive full-screen rendering, overlay conflicts, HDR issues, copy protection, or capture tools that cannot hook into the game properly. Try borderless windowed mode, use Steam or Xbox Game Bar instead of basic PrtSc, update your GPU drivers, or use your GPU overlay.
F12 Does Nothing
If F12 fails in Steam, make sure the Steam Overlay is enabled for that game. Also check whether another launcher, such as Ubisoft Connect, is using the same key. Change one screenshot shortcut to avoid conflicts.
I Cannot Find My Screenshot
Check the tool you used. Steam screenshots are in Steam’s Screenshot Manager. Windows + PrtSc usually saves in Pictures > Screenshots. Xbox Game Bar saves in Videos > Captures. NVIDIA and AMD captures are managed through their respective software settings. If you used PrtSc alone, the image may only be on your clipboard, meaning you must paste it somewhere before it vanishes into the great digital fog.
The Screenshot Captured the Wrong Monitor
Multi-monitor setups are wonderful until screenshot day. Use Xbox Game Bar, Steam, or a region capture tool instead of full-screen Print Screen. You can also temporarily make the game monitor your primary display or switch the game to borderless windowed mode.
Which Screenshot Method Should You Use?
Use Steam F12 for Steam games. Use Windows + Alt + PrtSc for non-Steam games. Use Windows + Shift + S when you need a specific region. Use NVIDIA App or AMD Software if you want GPU-level capture tools. Use ShareX if you create tutorials, guides, or bug reports often. The best method is not the fanciest one; it is the one you can hit instantly when your character ragdolls into the sky like a rejected superhero.
Personal Experience: Real Lessons from Taking PC Game Screenshots
After years of taking screenshots in PC games, one truth becomes clear: the best screenshot tool is the one you set up before the ridiculous thing happens. I have missed more perfect gaming moments than I care to admit because I thought, “I’ll remember the shortcut.” Friends, I did not remember the shortcut. I remembered panic, mashed three keys, opened the Start menu, and watched the dragon fly away like it had somewhere better to be.
For Steam games, I now keep F12 as my default unless another overlay interferes. Steam’s Screenshot Manager is convenient because it organizes images by game, which matters when your library looks like a digital garage sale. It is easy to go back later and find that one survival game base, that one boss fight, or that one screenshot where an NPC stood on a chair and stared into eternity. Steam is my “capture first, sort later” method.
For games outside Steam, Xbox Game Bar has become my dependable backup. Windows + Alt + PrtSc is not glamorous, but it works in a lot of places. The first time I used it seriously was for a game launched through a non-Steam launcher where F12 did nothing. I pressed the Game Bar shortcut, found the image in Videos > Captures, and felt like I had discovered a secret hallway in my own operating system. The folder location is odd, but once you know it, it is fine.
Print Screen still has a place, especially when I need to paste something quickly into Discord or an image editor. But for gaming, I treat plain PrtSc like a sticky note: useful, temporary, and easy to lose. If I want a file saved automatically, I use Windows + PrtSc or a dedicated capture tool. Nothing teaches that lesson faster than taking ten PrtSc screenshots and realizing only the latest one survived on the clipboard. That is not a screenshot library; that is a tiny tragedy.
For beautiful screenshots, photo mode beats everything. When a game includes camera controls, field of view, filters, time pause, and character poses, use them. The difference between a rushed gameplay screenshot and a composed photo mode shot is enormous. Move the camera lower, frame the subject off-center, wait for dramatic lighting, and remove the HUD. Suddenly, your warrior is not just standing near a mountain; they are starring in a fantasy tourism campaign.
My biggest practical tip is to create a small screenshot routine. Pick one main shortcut, one backup shortcut, and one folder where finished images go. For example: Steam F12 for Steam games, Windows + Alt + PrtSc for everything else, and a “Game Screenshots” folder for favorites. After every session, delete duplicates immediately. Otherwise, you will end up with 600 nearly identical images named like evidence files from a robot detective.
Finally, remember why screenshots matter. They are not just pixels. They are receipts for funny moments, proof for bug reports, memories from co-op nights, reference images for mods, and tiny postcards from worlds we visited after work. Whether you use Steam, PrtSc, Game Bar, NVIDIA, AMD, or ShareX, the goal is the same: catch the moment before it becomes a story nobody believes.
Conclusion
Taking a screenshot in a PC game is simple once you know which tool fits the situation. Steam’s F12 shortcut is the easiest choice for Steam games. Windows + Alt + PrtSc is a reliable all-around option through Xbox Game Bar. PrtSc and Windows + PrtSc are quick for basic captures, while Windows + Shift + S is perfect for selected areas. NVIDIA and AMD overlays add powerful GPU-based options, and tools like ShareX or OBS help creators build polished workflows.
The next time something amazing, hilarious, broken, or suspiciously beautiful happens in a game, you will be ready. Press the right key, save the moment, and share it proudly. After all, if a physics bug launches a wagon into orbit and nobody screenshots it, did it really happen?

