
Beauty Unlocked
How to Tape a Thumb: 8 Steps
Jul
Thumb injuries have a special talent for ruining otherwise normal days. One minute you are catching a basketball, opening a stubborn pickle jar, bracing yourself during a fall, or trying to look athletic on a ski trip. The next minute your thumb is throbbing, your grip feels suspiciously unreliable, and suddenly even buttoning jeans becomes a full-scale negotiation.
If that sounds familiar, thumb taping can be a smart way to add light support, limit painful motion, and help you feel a little less like your hand is staging a rebellion. The key word, though, is support. Taping is helpful for mild strains, overuse irritation, and temporary protection during recovery. It is not a magic trick for a badly injured thumb, a fracture, or a complete ligament tear. In those cases, you may need a thumb spica splint, a medical exam, or more formal treatment.
This guide walks you through how to tape a thumb in 8 clear steps, plus when to skip the DIY heroics and get checked out. Consider it the practical, no-drama version of thumb supportwith just enough humor to keep things from feeling like an anatomy lecture.
When Thumb Taping Helps
Thumb taping is usually most helpful when you have mild pain or soreness around the base of the thumb, a small sprain after a jam or twist, or a recovering thumb that needs a little backup during activity. It can also help reduce motion at the thumb joint when gripping, lifting, typing, or playing sports makes symptoms worse.
In plain English: if your thumb is cranky but still functional, tape may help calm it down.
When Taping Is Not Enough
Do not rely on tape alone if you have any of the following:
- Severe swelling or bruising that appeared quickly after injury
- A thumb that looks deformed, crooked, or unstable
- Numbness, tingling, coldness, or color change in the thumb or fingers
- Inability to pinch, grip, or move the thumb normally
- Sharp pain at the base of the thumb after a fall or sports injury
- Suspicion of a fracture, dislocation, or a major ligament tear such as skier’s thumb
- Open wounds, broken skin, or signs of infection
If you are thinking, “Well, my thumb does feel like it belongs in a cautionary tale,” that is your sign to stop taping and seek medical care.
What You Need Before You Start
- 1-inch or 1.5-inch athletic tape
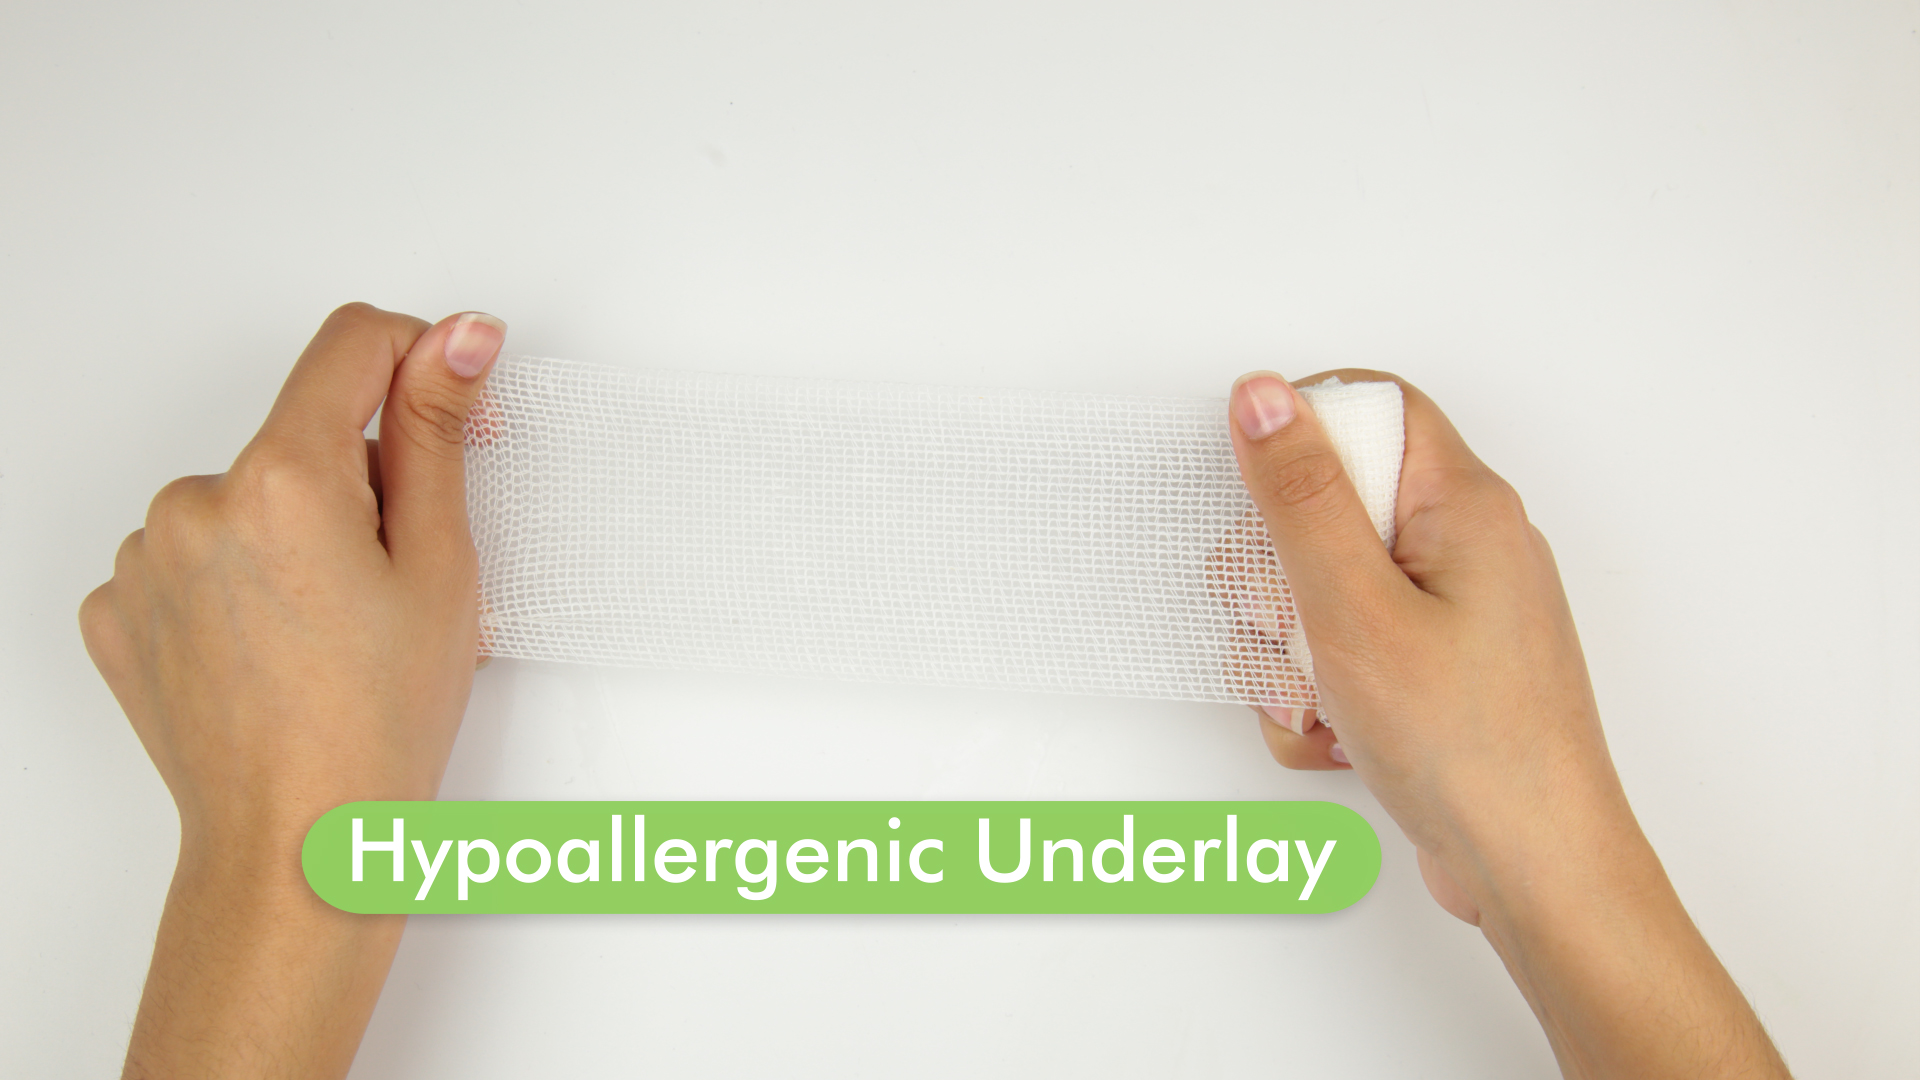
- Optional pre-wrap or hypoallergenic underwrap for sensitive skin
- Small scissors
- Clean, dry skin
- A calm place to tape, ideally not while arguing with furniture
Before You Tape: Three Quick Safety Checks
1. Check your skin
Make sure the skin is clean and dry. Do not tape over cuts, blisters, rashes, or irritated skin.
2. Check your circulation
Your thumb and fingers should be warm and their normal color before you start. If circulation already seems off, do not tape it.
3. Pick a comfortable position
Your thumb should rest in a natural, slightly bent positionlike you are gently holding a soda can, not clenching for battle. The goal is support, not mummification.
How to Tape a Thumb: 8 Steps
-
Step 1: Wash, dry, and prep the hand
Start with clean, dry skin. Lotion, sweat, and tape are terrible roommates. If you have a lot of hair where the tape will sit, trimming can make removal less dramatic later. If your skin is sensitive, apply a thin layer of pre-wrap or underwrap first.
-
Step 2: Position the thumb in a relaxed, functional pose
Rest your hand with the palm facing inward or slightly up. Keep the thumb slightly bent and slightly away from the index finger, as if you are holding a glass. Do not force the thumb into a stretched-out or rigidly straight position. Comfort comes first.
-
Step 3: Apply a wrist anchor
Wrap one strip of tape around the wrist to create an anchor point. This strip should feel snug but not tight. You should still be able to slide a fingertip under it. This anchor gives your support strips somewhere to attach without strangling your thumb into silence.
-
Step 4: Add a hand anchor around the palm
Place a second anchor around the hand, usually across the palm area below the knuckles and above the wrist. Avoid wrapping too low into the wrist crease or too high into the fingers. You want a stable base, not a tape mitten.
-
Step 5: Create the first support strip from wrist to thumb
Now make your first support strip. Start from the wrist anchor on the thumb side, bring the tape up and around the base of the thumb, then angle it back down toward the palm or wrist anchor. This creates a simple thumb-spica-style sling that limits painful motion without locking the whole hand.
-
Step 6: Add a figure-eight wrap
Take another strip and move it in a figure-eight pattern around the wrist and thumb. The tape should pass around the base of the thumb joint and return to the wrist anchor. This is usually the most important support layer because it helps control excess movement at the metacarpophalangeal joint, which is the knuckle-like joint at the base of the thumb.
-
Step 7: Reinforce with one or two overlapping support strips
Add one or two more strips following the same general path as the first figure-eight. Overlap each strip by about half the tape width. The goal is even support, not building a tiny cast worthy of its own zip code. If pain increases while you tape, stop and reposition.
-
Step 8: Close the tape neatly and test circulation
Use short strips to secure loose ends, smooth rough edges, and keep the wrap from unraveling. Then test the result. Your thumb should feel supported but not squeezed. Check that your fingertips are warm, pink, and not tingling. Open and close your hand gently. If the tape causes numbness, throbbing, coldness, or color change, remove it and reapply more loosely.
What a Good Thumb Tape Job Should Feel Like
A well-taped thumb should feel more stable, slightly restricted, and less painful during light use. It should not feel numb, ice-cold, sharply pinched, or like your heartbeat has relocated into your hand. You should still be able to move your fingers comfortably and do gentle daily tasks.
How Long Should You Keep Thumb Tape On?
For light support, many people use thumb tape during activities that trigger pain, then remove it afterward. If you wear it for longer stretches, check the skin regularly and replace the tape if it loosens, gets damp, or starts irritating your skin. Overnight use is usually not ideal unless a clinician has told you otherwise. Tape shifts, bunches, and occasionally turns into an itchy little villain while you sleep.
If your thumb needs more than short-term supportor pain lasts more than a couple of daysyou may need a brace or evaluation instead of repeated taping.
Common Thumb Taping Mistakes
Wrapping too tightly
This is the classic mistake. Tight tape does not equal better support. It equals annoyed nerves, poor circulation, and regret.
Skipping the wrist anchor
If you tape only around the thumb, support is often weak and the tape slides out of place. The wrist anchor helps the whole wrap do its job.
Using tape on wet or oily skin
If your skin is damp or slick, the tape will peel, twist, and quit early.
Ignoring major symptoms
If the thumb feels unstable, badly swollen, or dramatically painful, do not keep “testing” it with more tape. That is not persistence. That is flirting with a longer recovery.
Using tape instead of rest
Tape can support healing, but it cannot outvote overuse. If you keep stressing an injured thumb, the tape becomes more of a witness than a solution.
Tape vs. Splint: Which Is Better?
For a very mild sprain or temporary support during activity, tape can be enough. For moderate pain, more obvious swelling, or suspected ligament injury, a thumb spica splint is often a better choice because it controls movement more reliably. That is especially true after a fall, sports injury, or any thumb injury that affects pinching strength.
Think of it this way: tape is great for guidance, while a splint is better for serious boundary enforcement.
When to See a Healthcare Provider
Get medical attention if:
- Pain is severe or getting worse
- You cannot grip or pinch normally
- The thumb feels loose or unstable
- Swelling or bruising is significant
- You suspect a fracture or dislocation
- The skin becomes numb, pale, blue, or cold
- Symptoms are not improving after a short period of rest and support
Thumb injuries can involve the ulnar collateral ligament, the joint capsule, nearby tendons, or even the bone itself. In other words, your thumb is a compact little overachiever, and several things can go wrong in a small area. If symptoms are strong, a proper exam matters.
How to Help a Taped Thumb Recover
Taping works best as part of a larger plan. Try pairing it with these habits:
- Rest: avoid heavy gripping, lifting, and sports that worsen pain
- Ice: apply a cold pack for short intervals during the first couple of days after injury
- Elevation: keep the hand raised when swelling is obvious
- Gentle motion: once pain settles, ease back into movement instead of babying the thumb forever
- Gradual return: do not jump from “slightly sore” to “let me deep-clean the garage”
Recovery is often less about one perfect tape pattern and more about making consistently smart choices. That may sound less exciting, but your thumb loves boring good decisions.
Real-Life Thumb Taping Experiences: What People Usually Learn the Hard Way
One of the most common experiences people describe after a thumb injury is surprise. Not dramatic, cinematic surprisemore the irritated kind. They did not realize how often they use their thumb until nearly everything started hurting. Texting felt weird. Turning a doorknob felt weird. Pulling up socks felt weird. Even holding a coffee mug suddenly became a trust exercise. That is usually the moment thumb taping stops sounding like a random sports-medicine trick and starts sounding like a decent life strategy.
A lot of people first tape a thumb after a “minor” sports moment that clearly was not minor to the thumb itself. A basketball player jams it reaching for a pass. A pickleball fan lunges heroically and pays for it later. A skier falls with a pole in hand and spends the evening saying, “It’s probably fine,” while absolutely not gripping anything normally. In these situations, taping often feels helpful right away because it reduces that sloppy, unstable feeling. The thumb still hurts, but it stops feeling like it might wander off and make bad decisions on its own.
Then there are the non-sports people, who injure a thumb in much less glamorous ways. They catch it awkwardly while carrying groceries, twist it opening a jar with the confidence of someone on a cooking show, or hyperextend it while trying to stop a falling box in the garage. Their experience is usually the same: they do not think the injury is serious enough for a brace, but they quickly realize they need more support than “hoping for the best.” Tape becomes the middle ground. It lets them function without pretending nothing happened.
Another common experience is learning that tight tape is not smart tape. Many first-timers wrap the thumb like they are securing cargo for a storm. Ten minutes later, their fingers feel weird, the skin starts throbbing, and the whole wrap has the vibe of a bad decision made confidently. After that, most people learn the golden rule: supportive is good, strangulation is not.
People also discover that thumb taping works best when paired with restraint. The tape helps, so they feel better, so they use the thumb too much, so the pain returns to deliver a firm lecture. That cycle is incredibly common. The lesson usually arrives fast: tape is a helper, not a hall pass. If the thumb needs recovery time, no amount of athletic tape is going to negotiate a better deal.
Finally, many people say thumb taping gave them one surprisingly useful thing: confidence. Not superhero confidence. More like, “I can hold a steering wheel, answer emails, and get through the day without babying my hand every second.” That matters. When done correctly, taping can reduce pain, improve stability, and make normal life feel normal againwhich, after a thumb injury, is honestly a pretty big win for such a small body part.
Final Thoughts
If you want the short version, here it is: thumb taping can be a smart, simple way to support a mild injury, especially when you use a wrist anchor, figure-eight support, and just enough tension to stabilize without cutting off circulation. It is most useful for light support and activity-based protection, not for major injuries that need a splint or medical care.
So yes, you can absolutely learn how to tape a thumb in 8 steps. Just remember the larger rule of hand health: if your thumb looks alarming, feels unstable, or refuses to cooperate with basic tasks, stop trying to out-stubborn it and get it checked.

